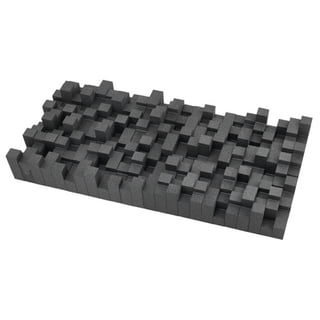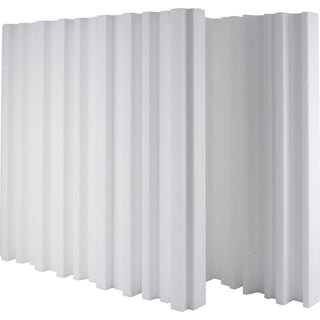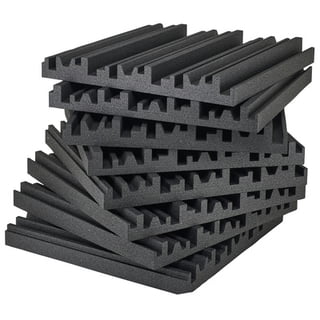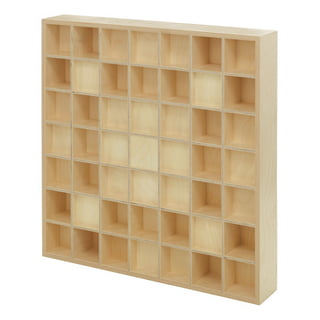
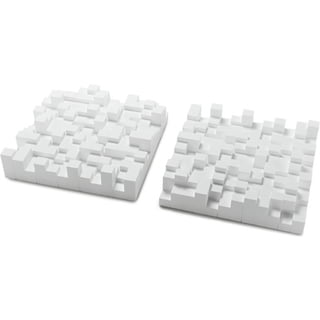
Diffusor Manhattan eps set
600 x 600 x 150 mm
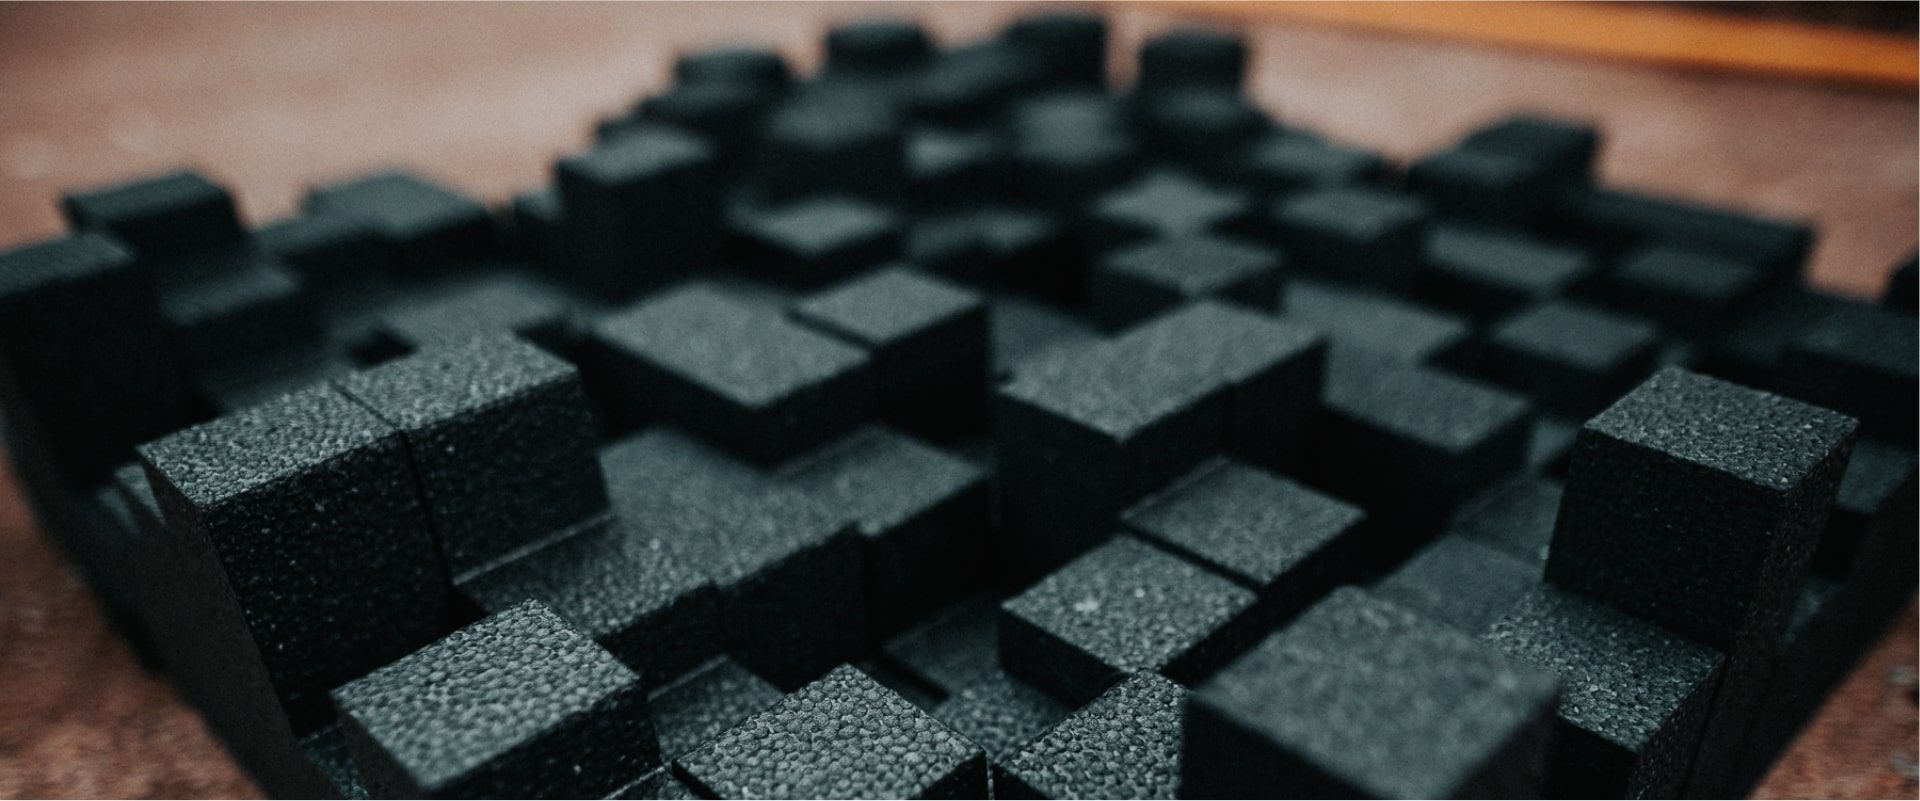
Diffusers break up sound reflections on the wall and ensure a homogeneous distribution of sound in the room, without making it sound too "dry" by overdampening it. They also help to achieve an even reverberation time across the entire frequency spectrum.
Flutter echoes can occur between large parallel surfaces or walls. These should be dampened at the points of first reflections using absorbers. In all other positions, diffusers should be used, in order to prevent overdampening of the room. It’s also common practice to install large diffusers on the back wall of the room, which makes the room sound more lively and even "larger". This technique can also be used to optimize the sound of a drum set.
Tip: For combining several sections of a diffuser into one large diffuser, mark their positions using a level and pencil before glueing them to the wall. It’s also possible to glue several elements to a thin sheet of wood first, which is then mounted on the wall.
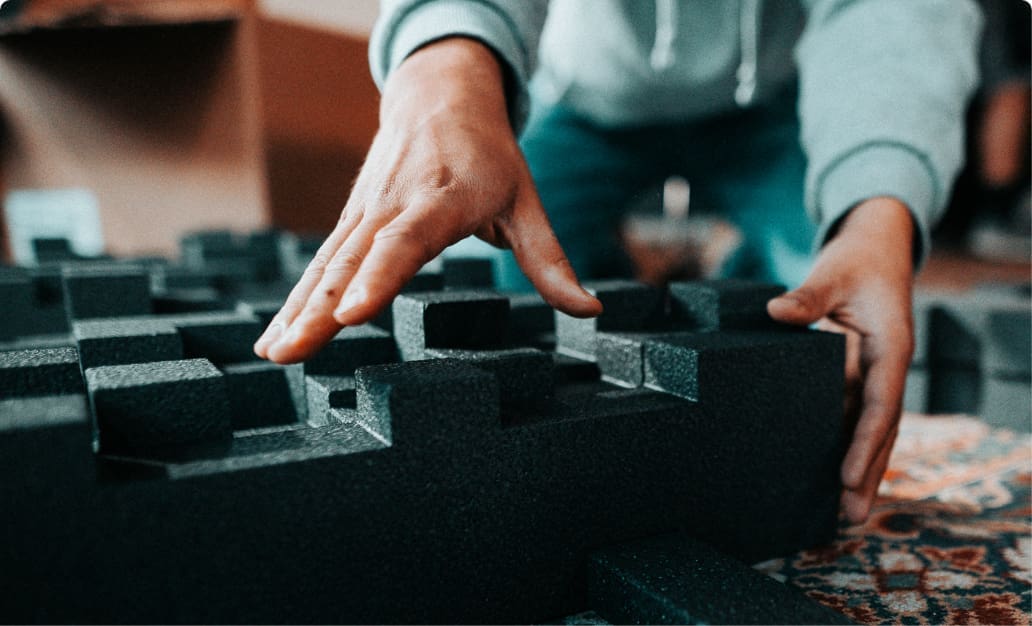
Diffusers from our t.akustik sets are easy to install on walls and ceilings. Apply an ample amount of the special glue to the back of the diffuser using the included caulk gun. Then, carefully press the diffuser in the desired position – that’s it.
This manual is for the following products : WDS-7, Diffusor Wave.
These instructions are for the following products: Spectrum D10, Spectrum D20, Spectrum D30, Spectrum D40, SC Diffuser.
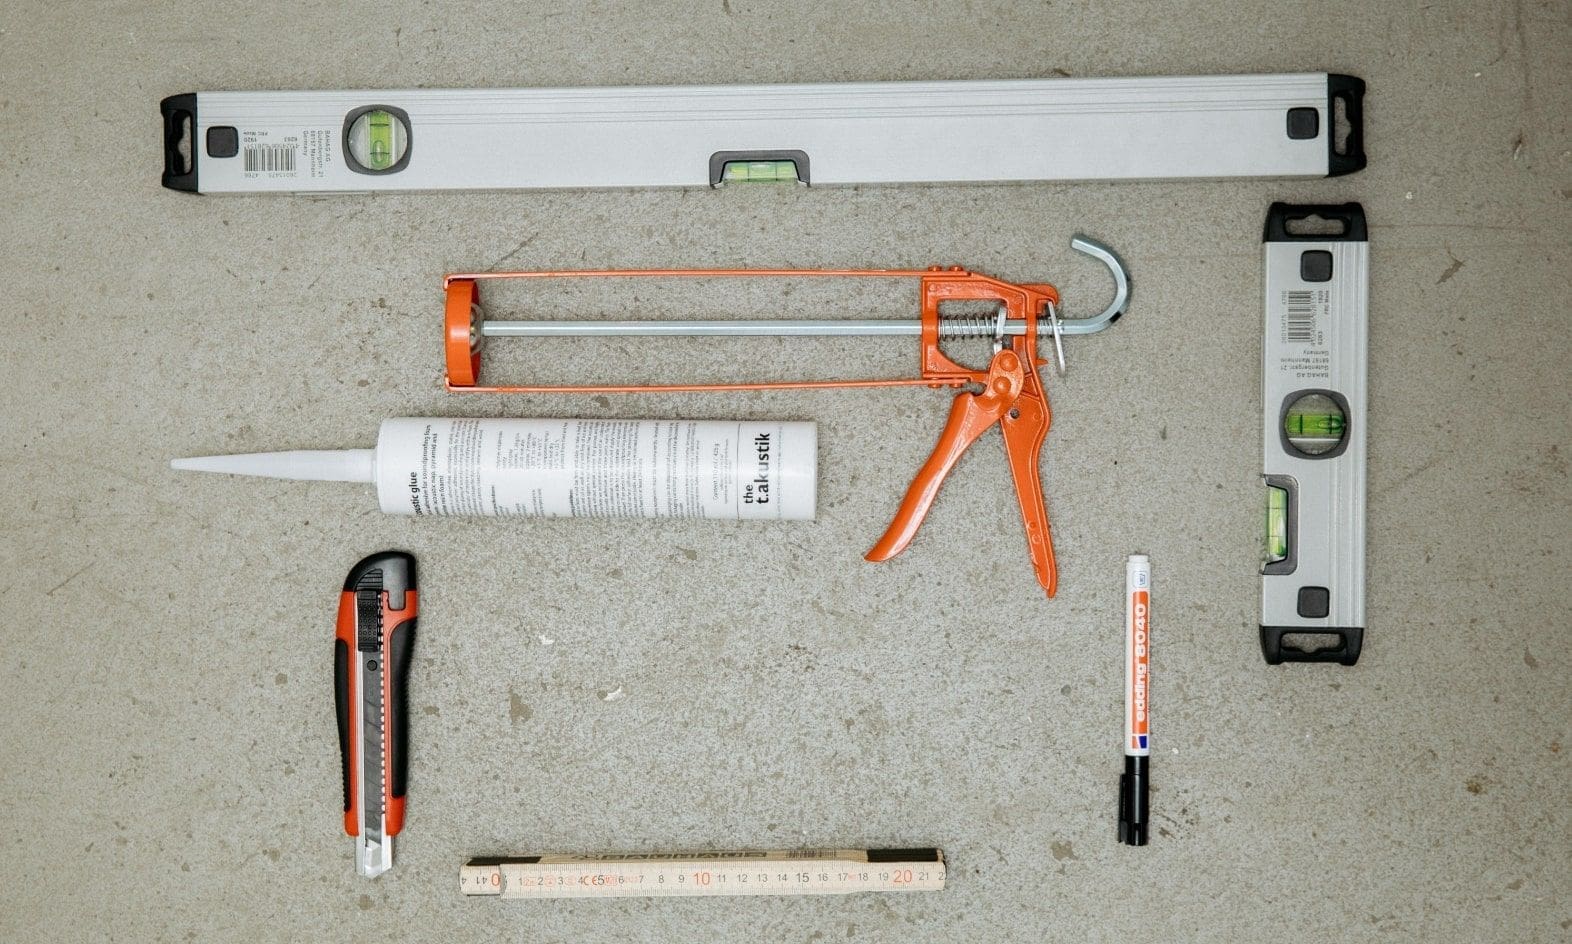
The following tools are needed for installation:
We recommend using our t.akustik glue for installation.
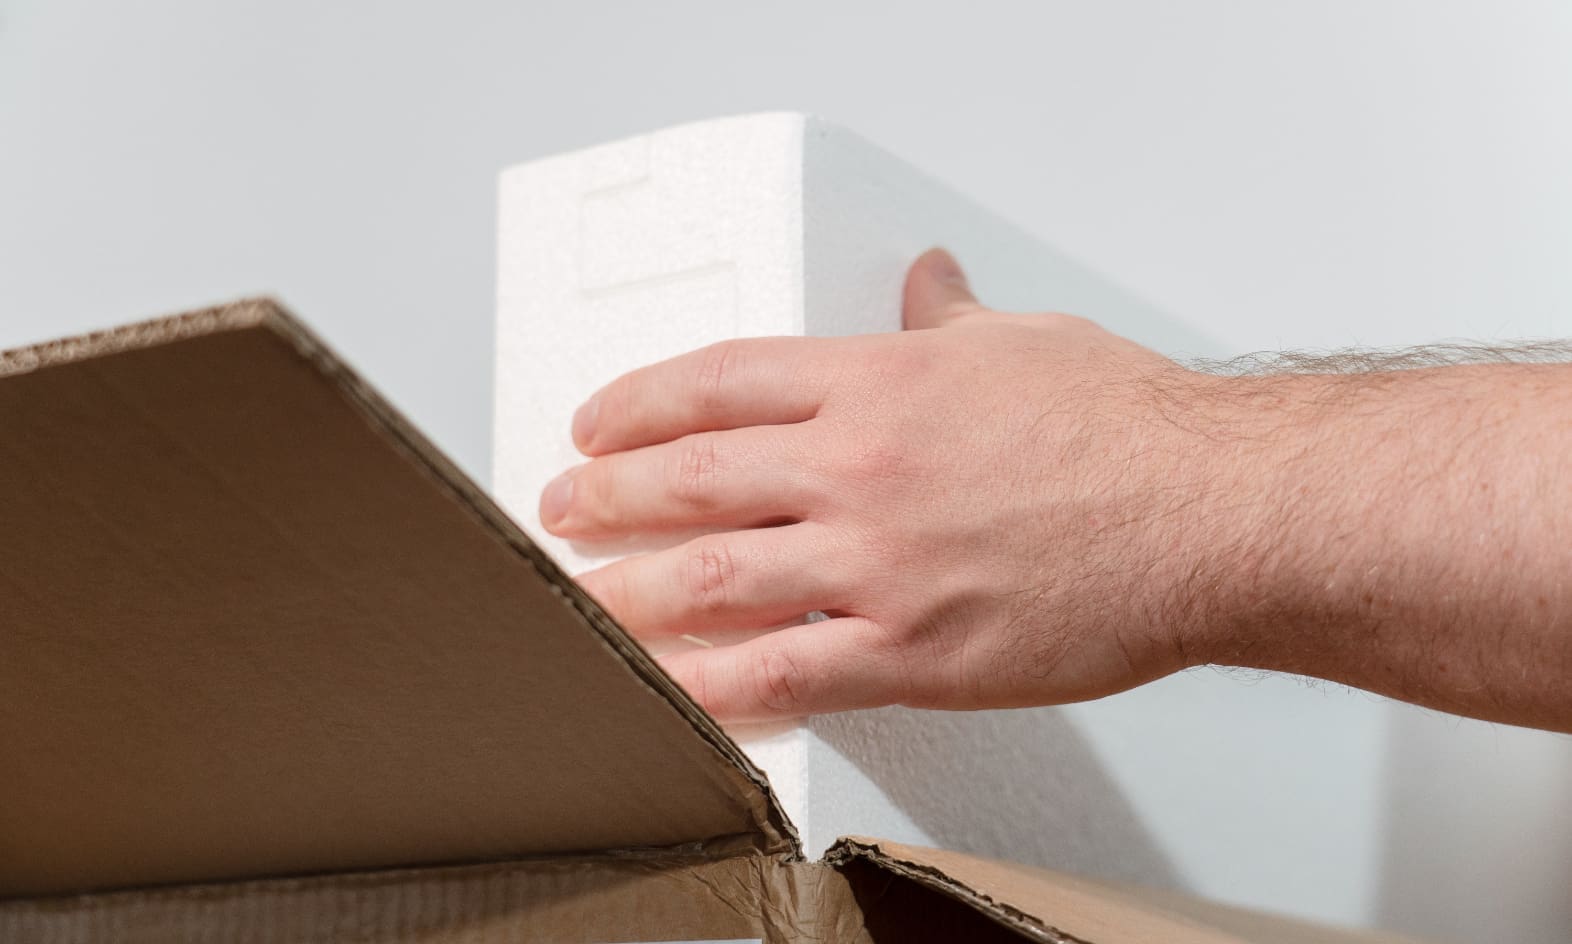
Open the package carefully! Inserting sharp objects into the package can damage the diffuser. Avoid using long, sharp tools for opening the package!
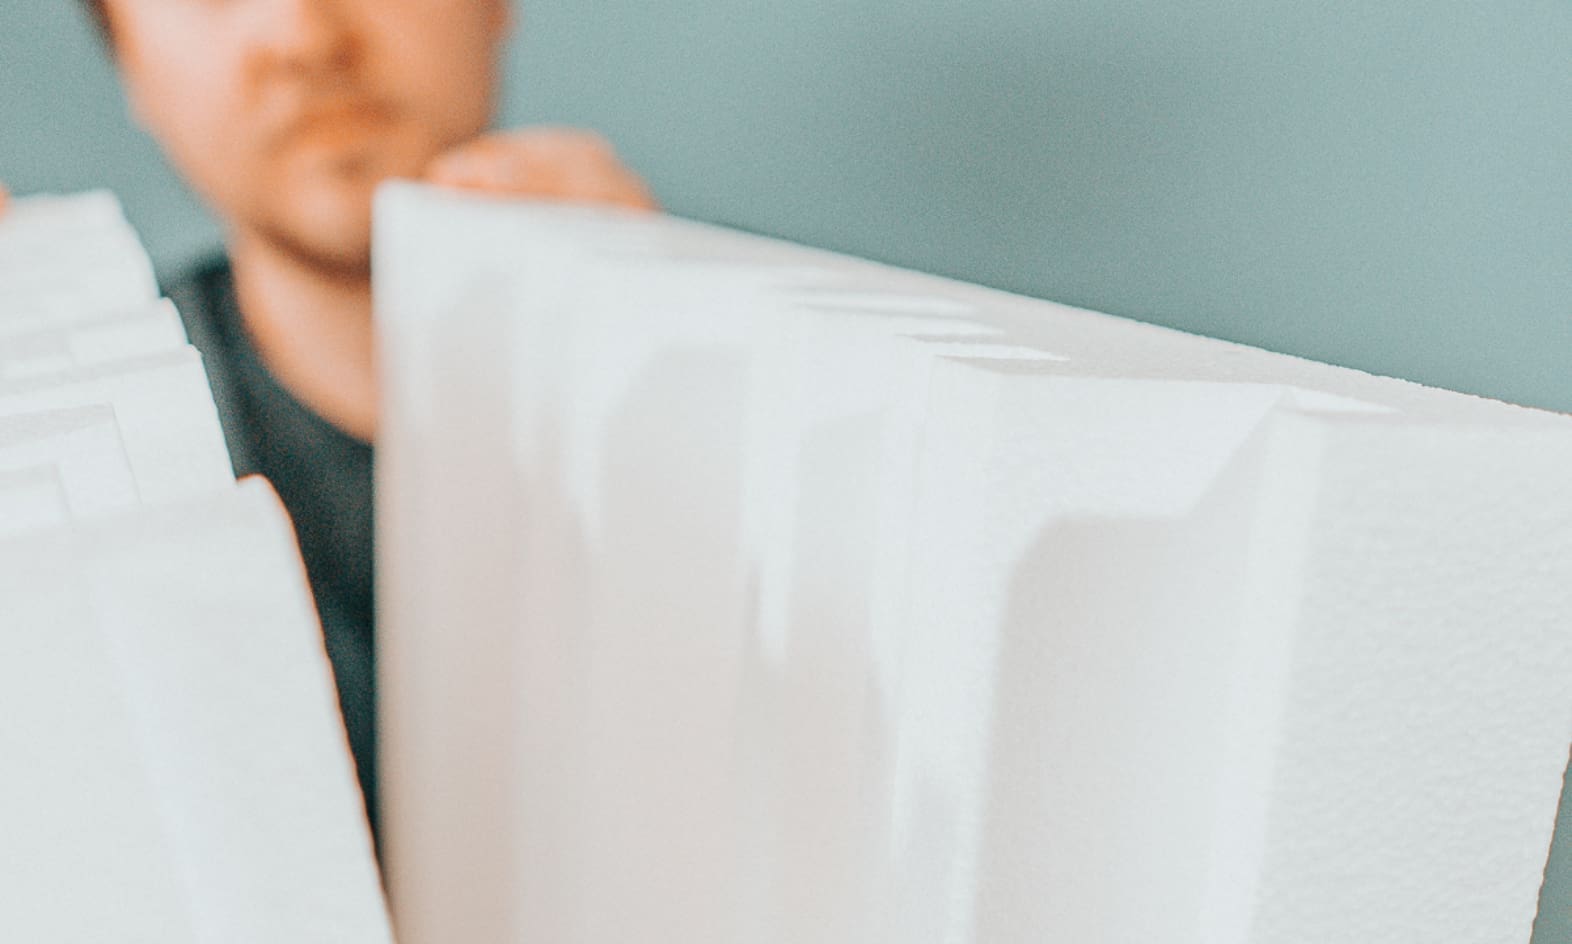
Carefully remove the products from the package and remove the protective film. Also remove the mounting clips and set them aside.
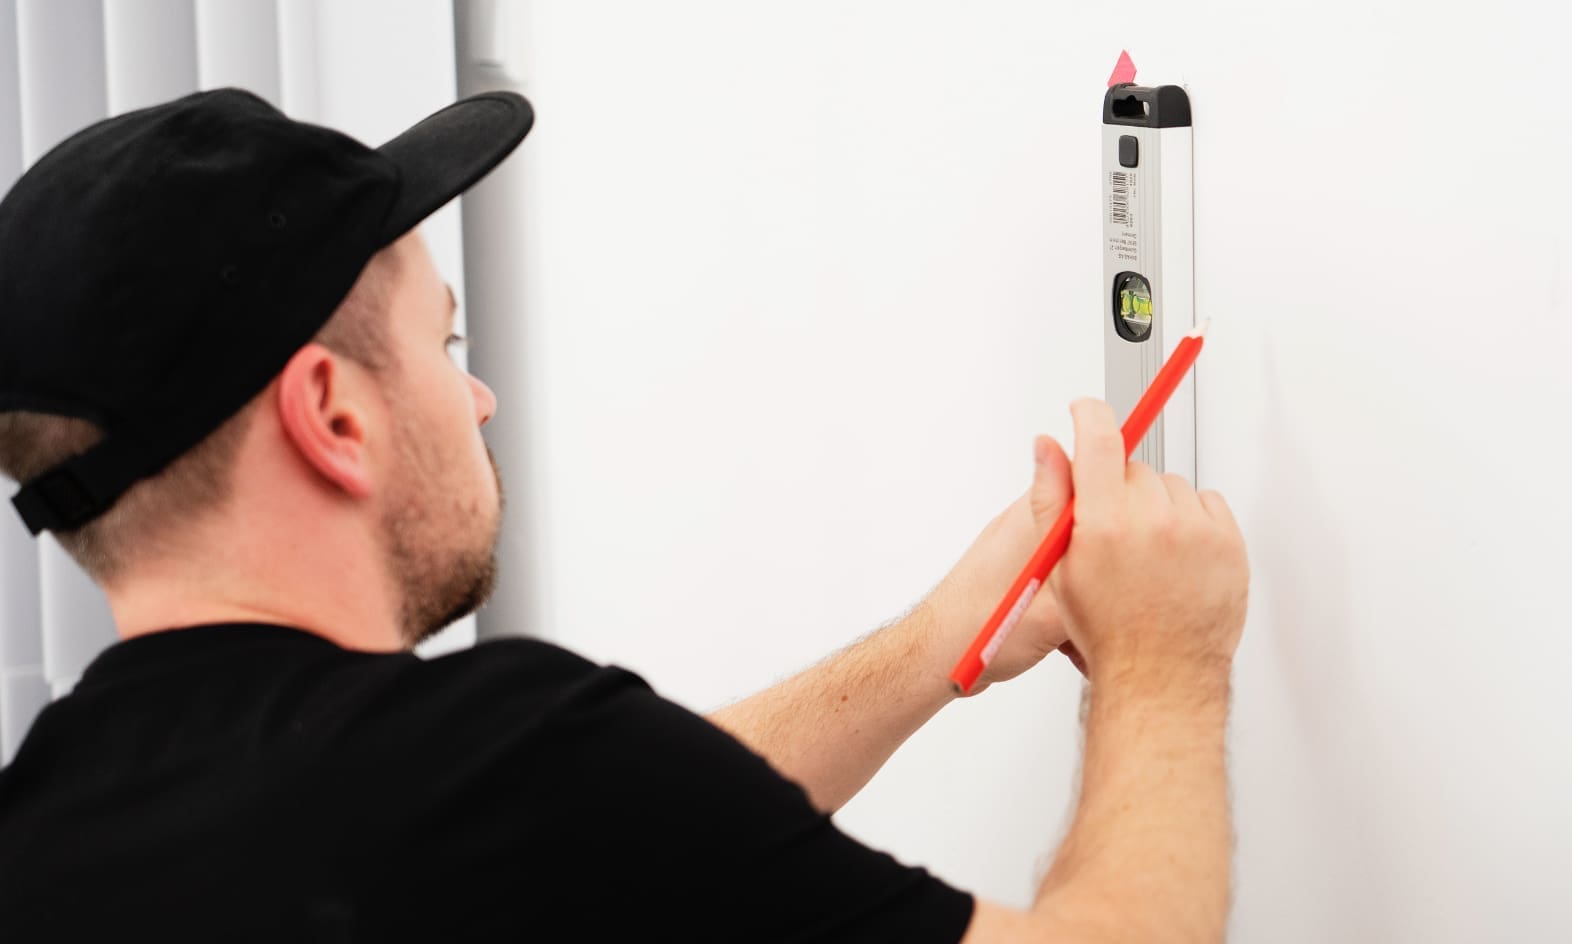
While determining the mounting positions, it helps to mark the walls and ceiling using a level and tape measure, in order to achieve even spacing in relation to corners and sound sources.
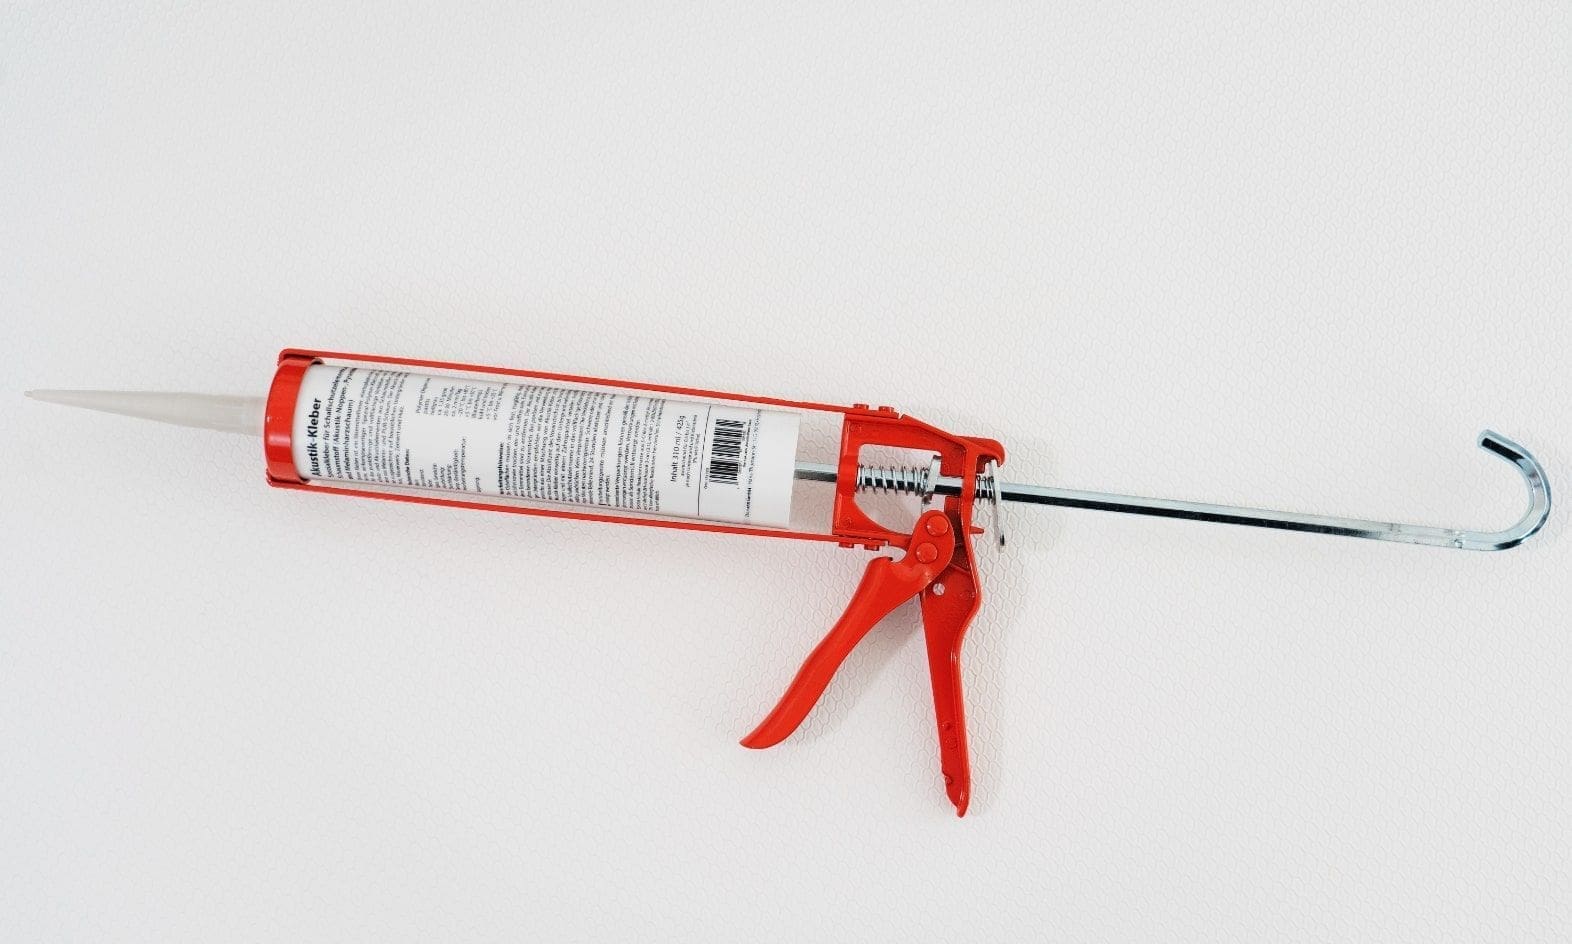
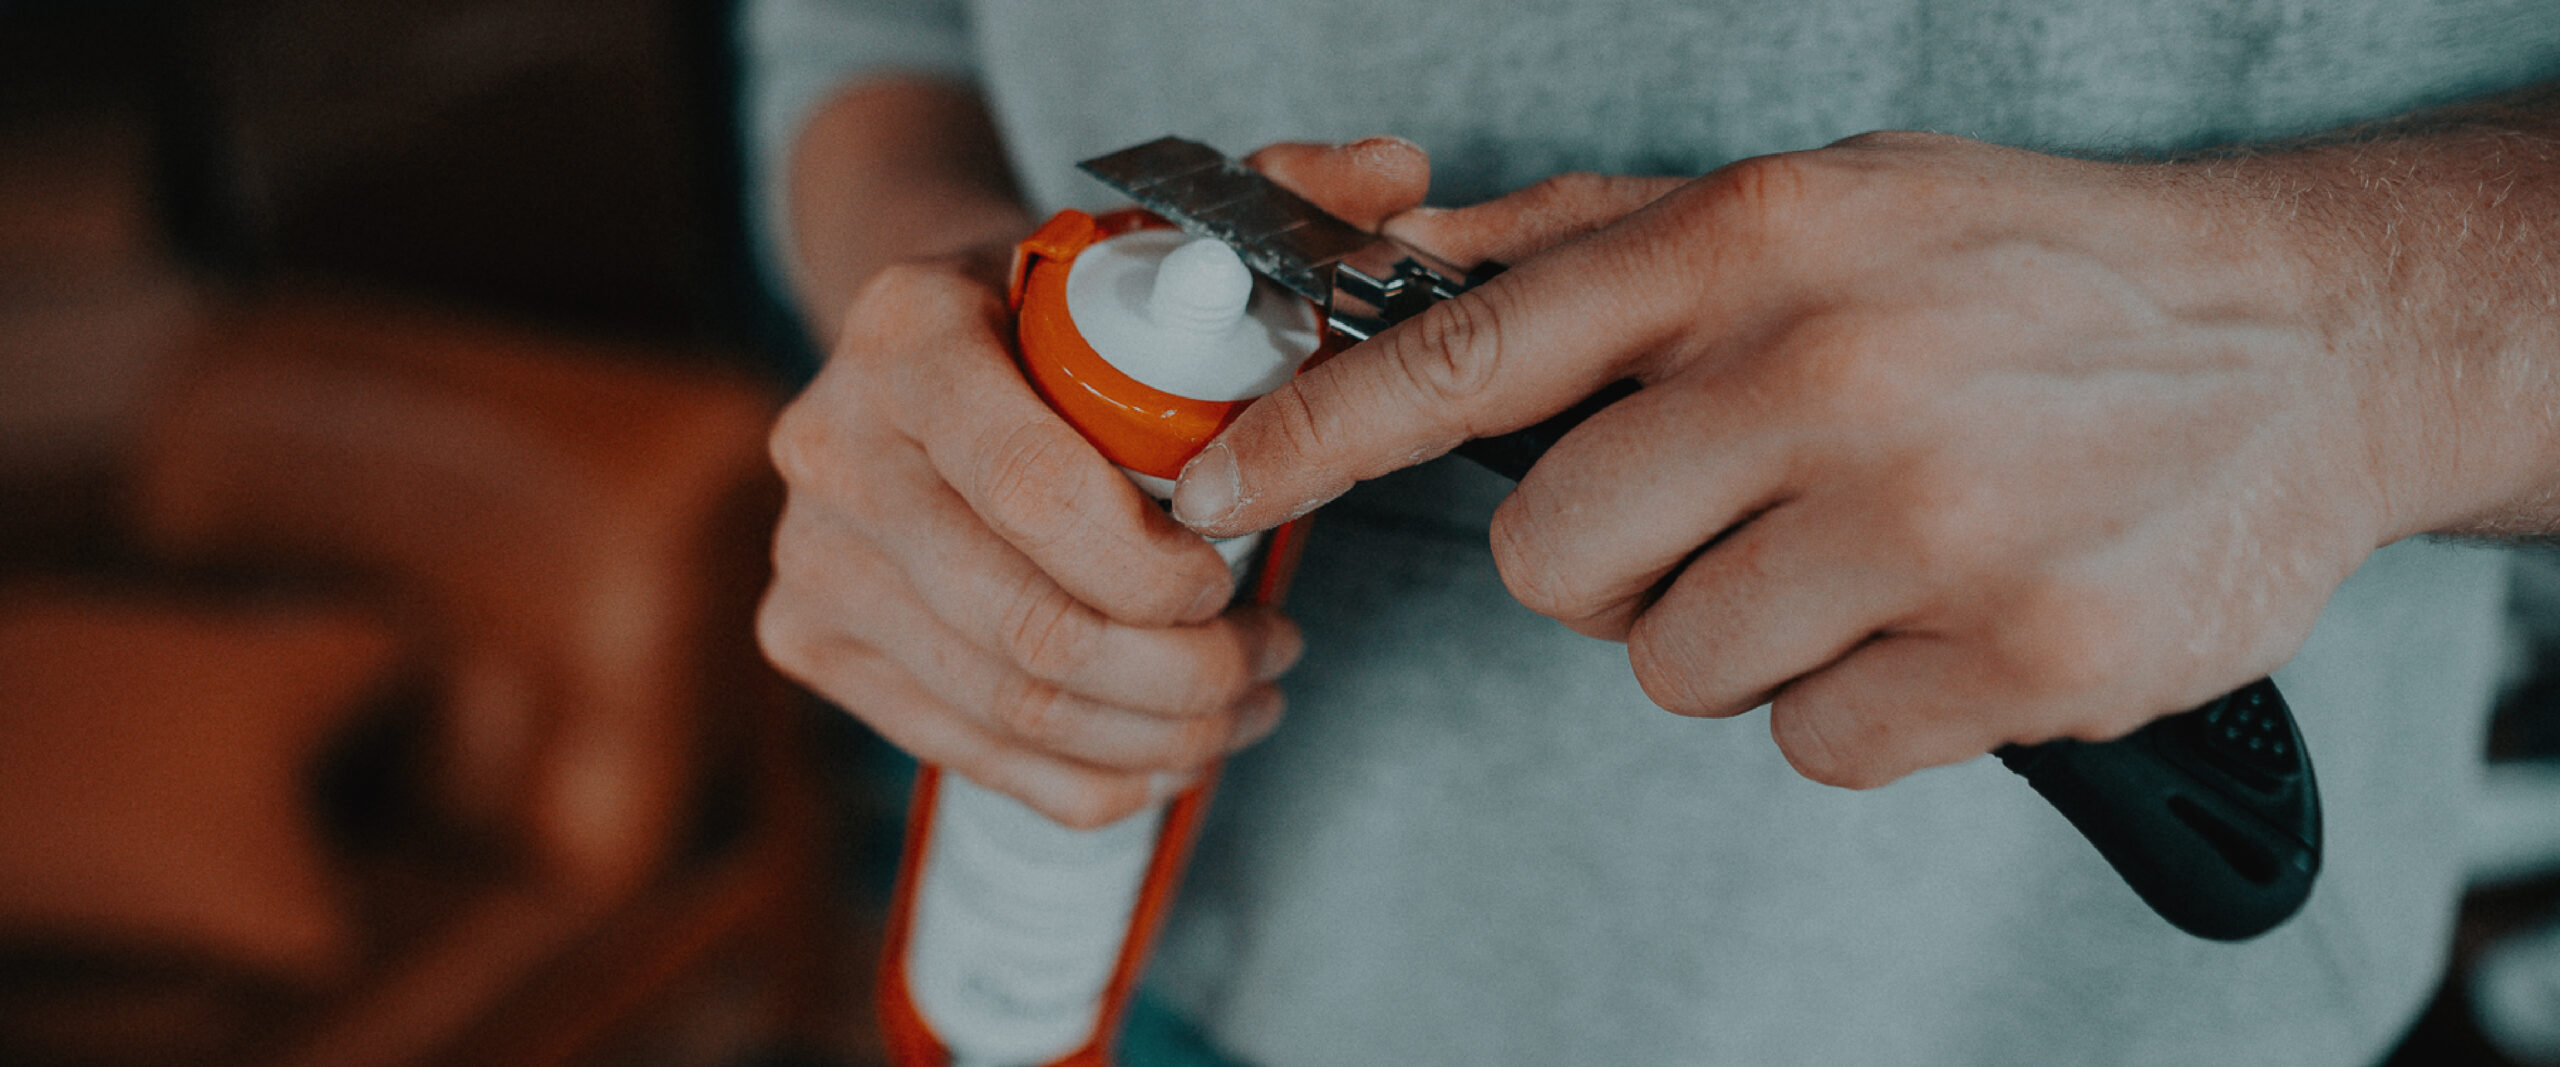
Carefully open the glue cartridge using a utility knife. Take care to point the knife away from your body. Thread the included nozzle onto the opening. Insert the cartridge into the caulk gun. For thicker lines of glue, you can use the knife to enlarge the opening of the nozzle.
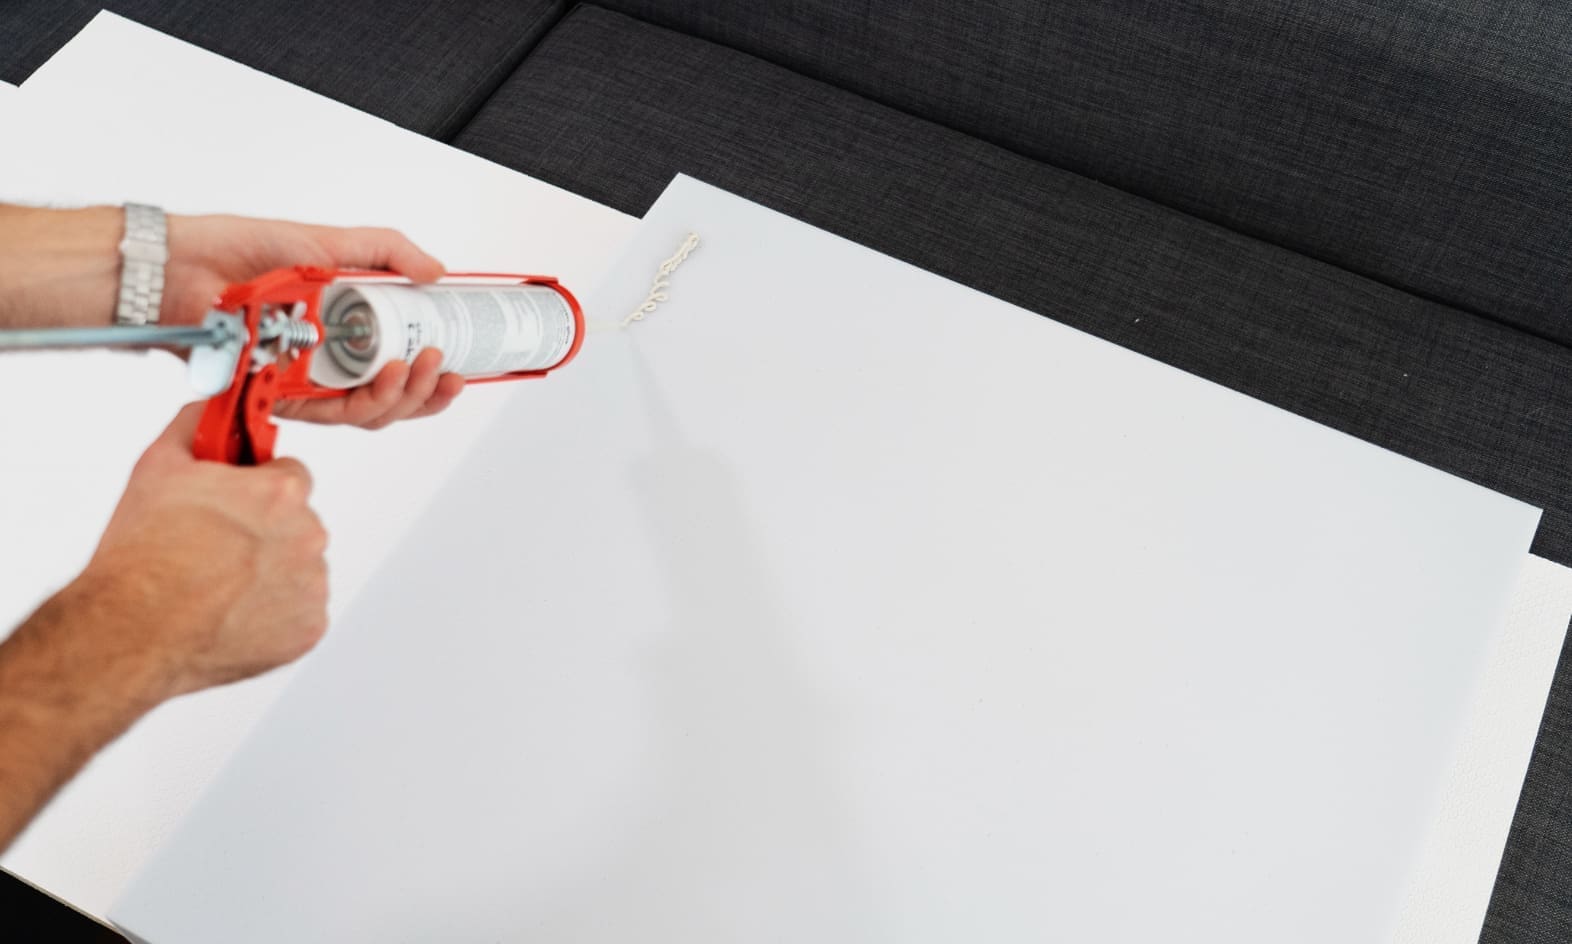
Apply the glue to the back of the diffuser in an even line along the outer edge. It also helps to apply some glue to the center of the diffuser in an X pattern, in order to hold the center firmly in place. Depending on the condition of the walls, we recommend using a generous amount of glue along the outer edges.
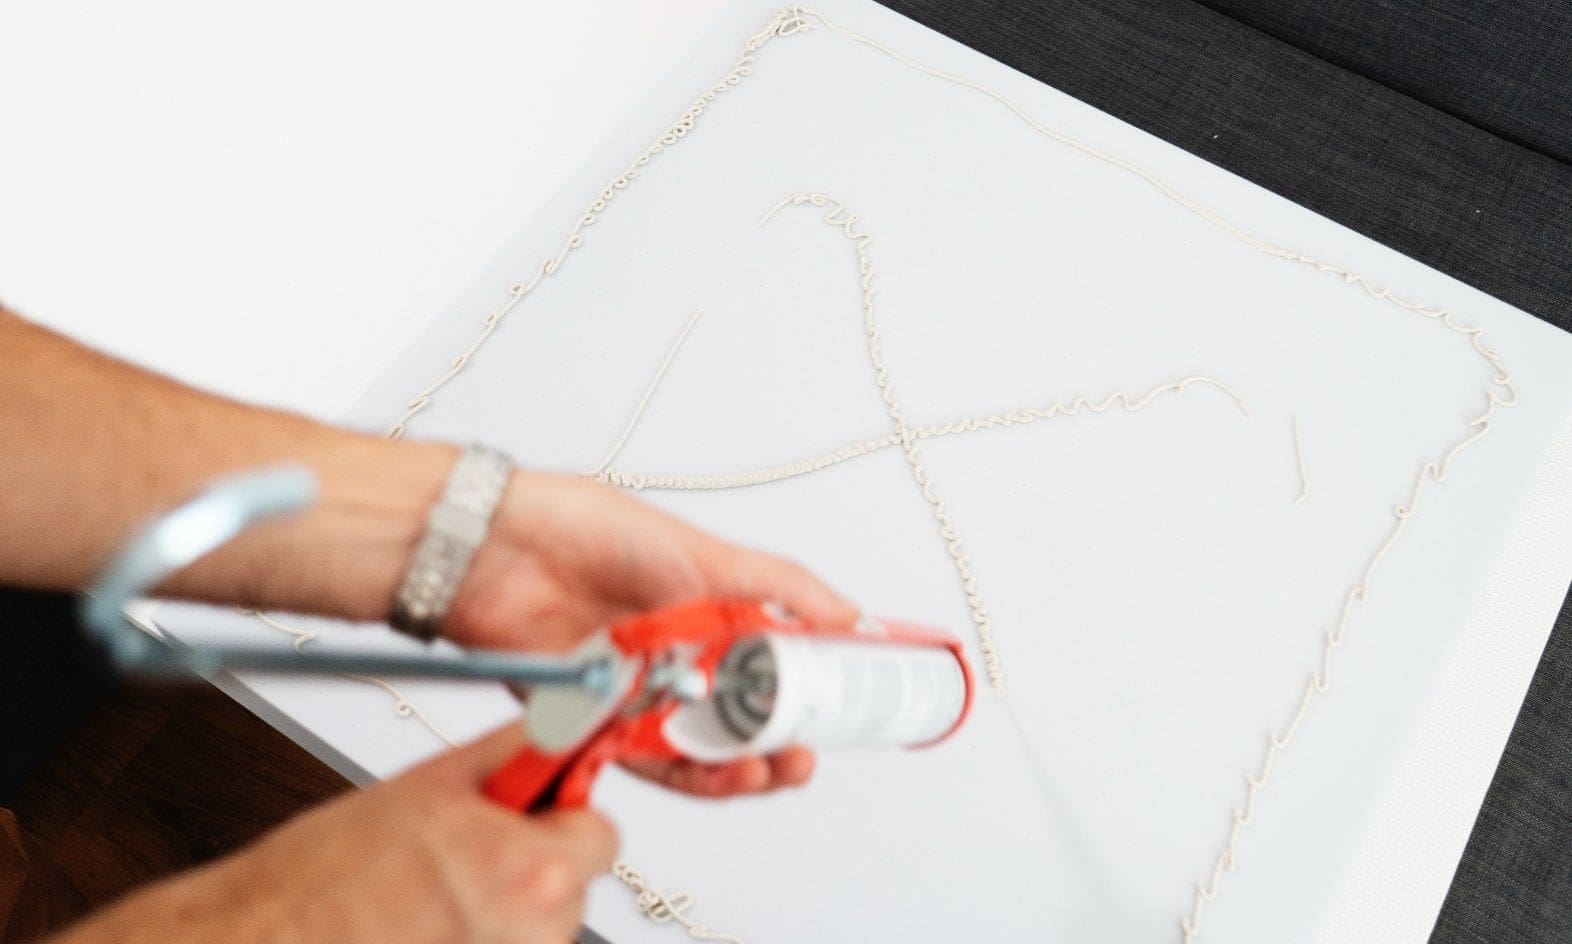
Before mounting the diffuser on the wall, let the glue set for 5 minutes on the element. This ensures that it can develop its full holding strength.

Press the diffuser onto the wall in the marked position and apply even pressure along the lines of glue for 2 minutes. We recommend checking the alignment using a level and making necessary adjustments by slightly rotating the element. That’s it!
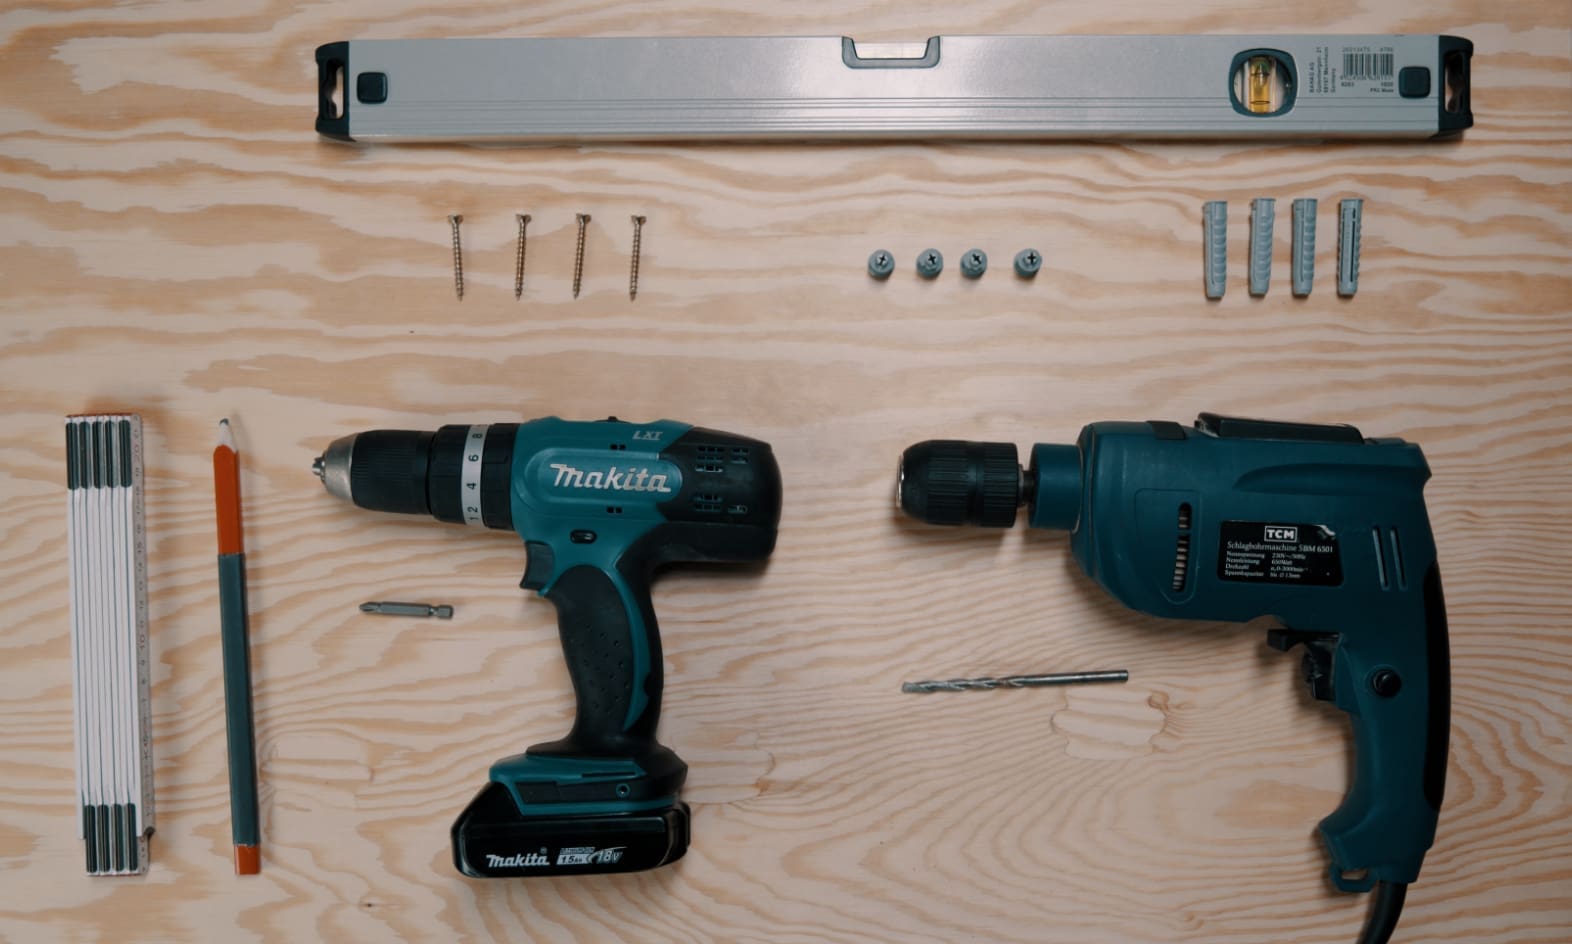
The following tools are needed for installation:
Make sure to use the correct type of anchors for your mounting surface (drywall, masonry, concrete, etc.).
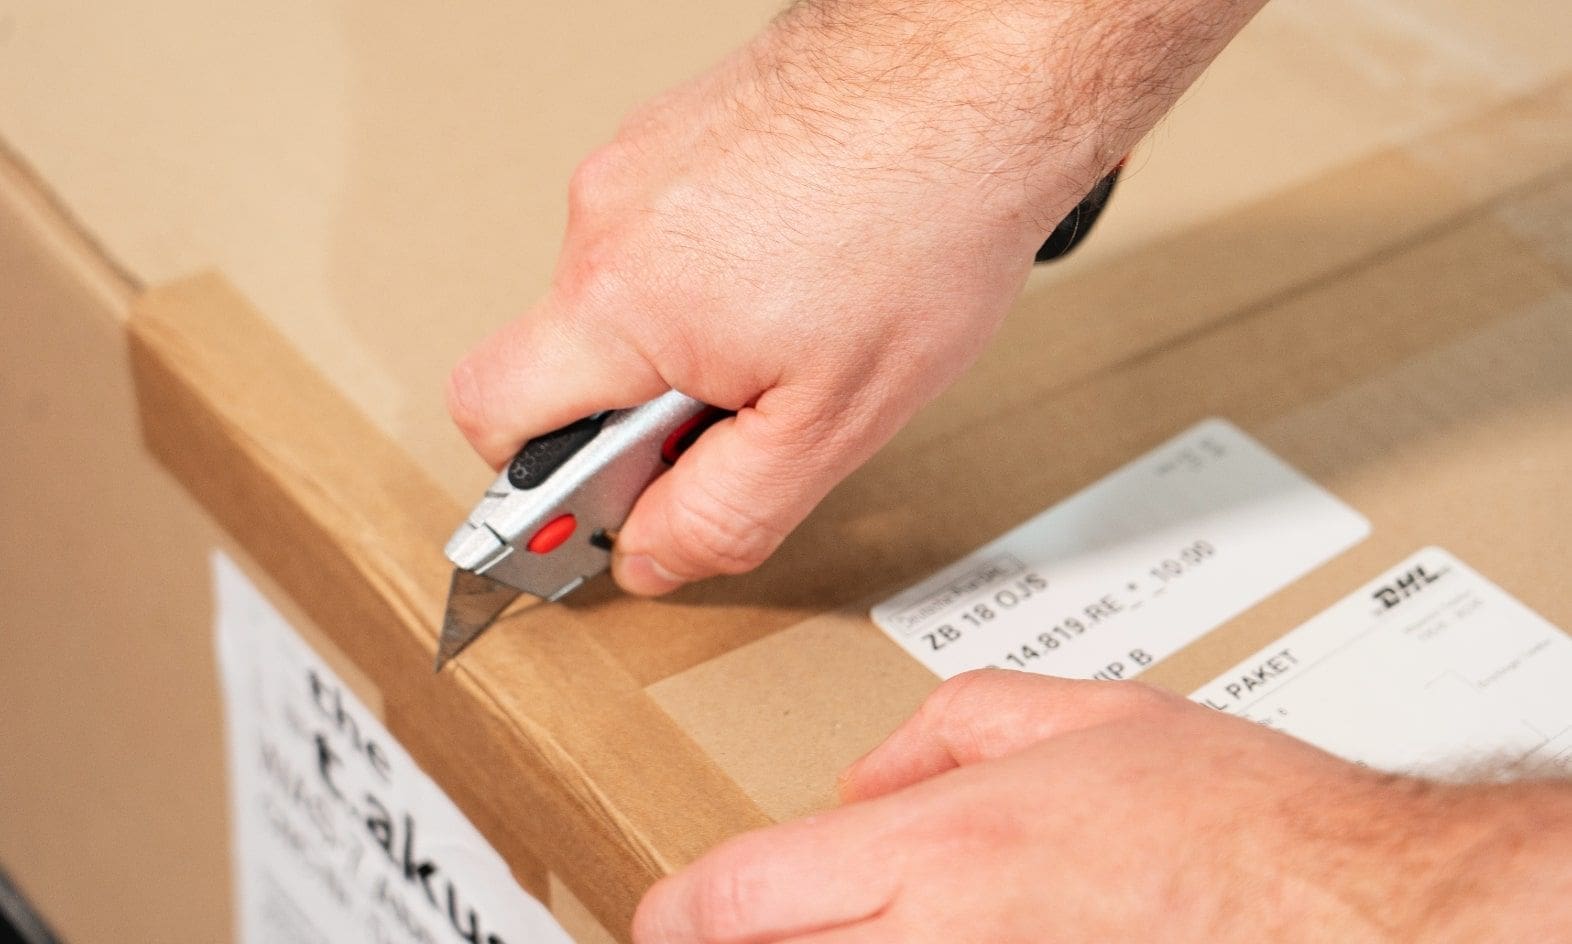
Open the package carefully! Inserting sharp objects into the package can damage the diffuser. Avoid using long, sharp tools for opening the package!
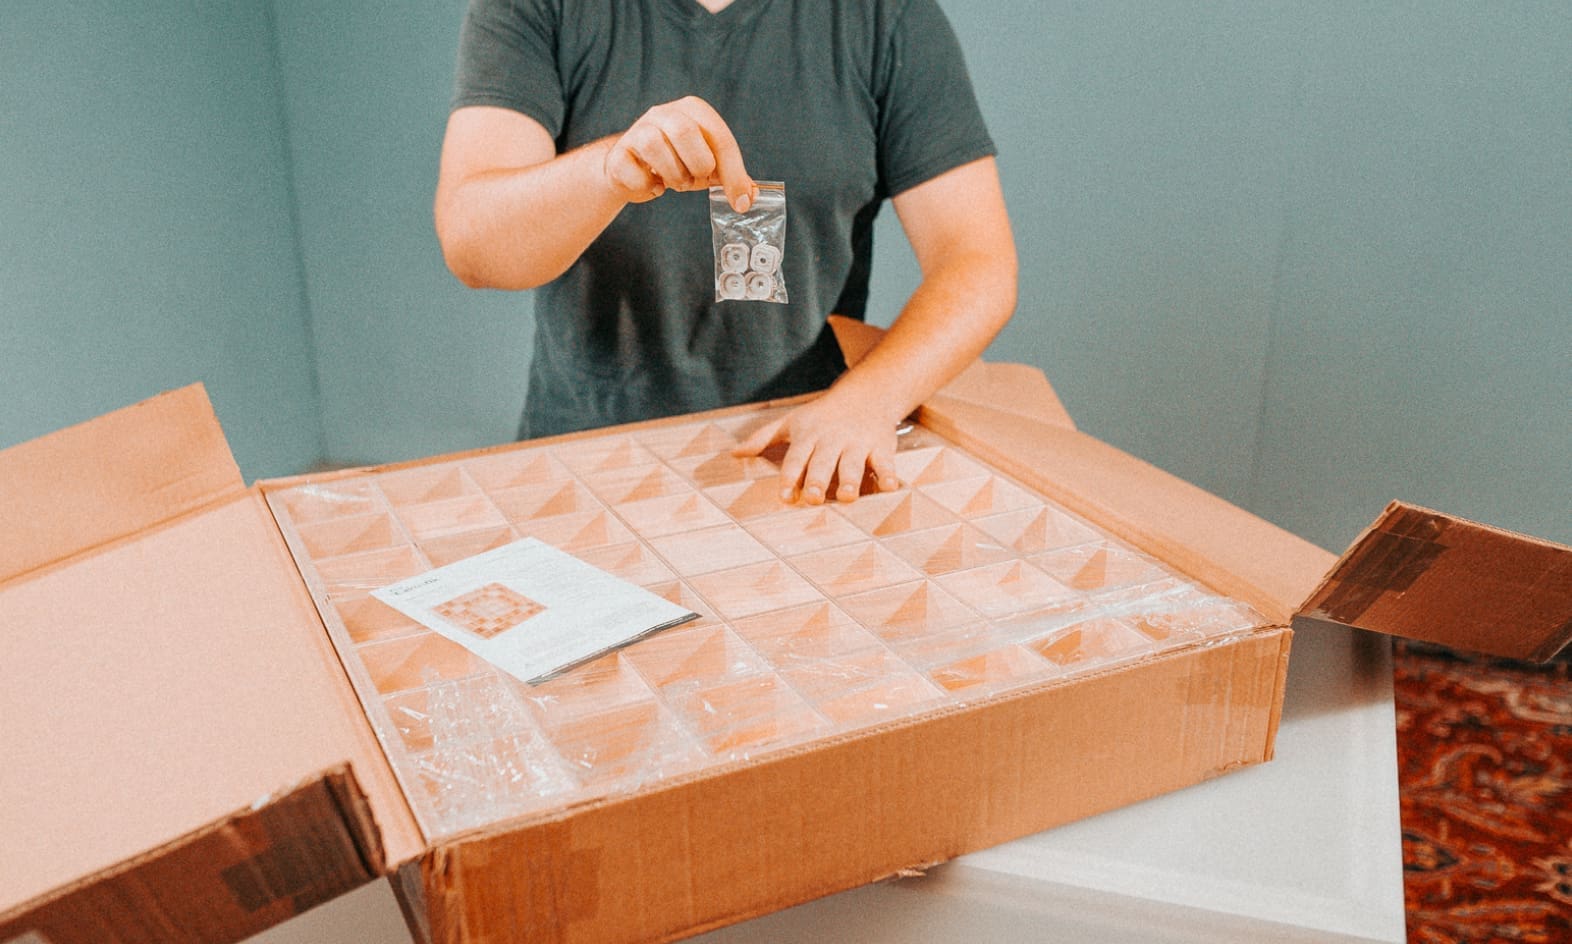
Carefully remove the products from the package and remove the protective film. Also remove the drilling template and mounting clips and set them aside.
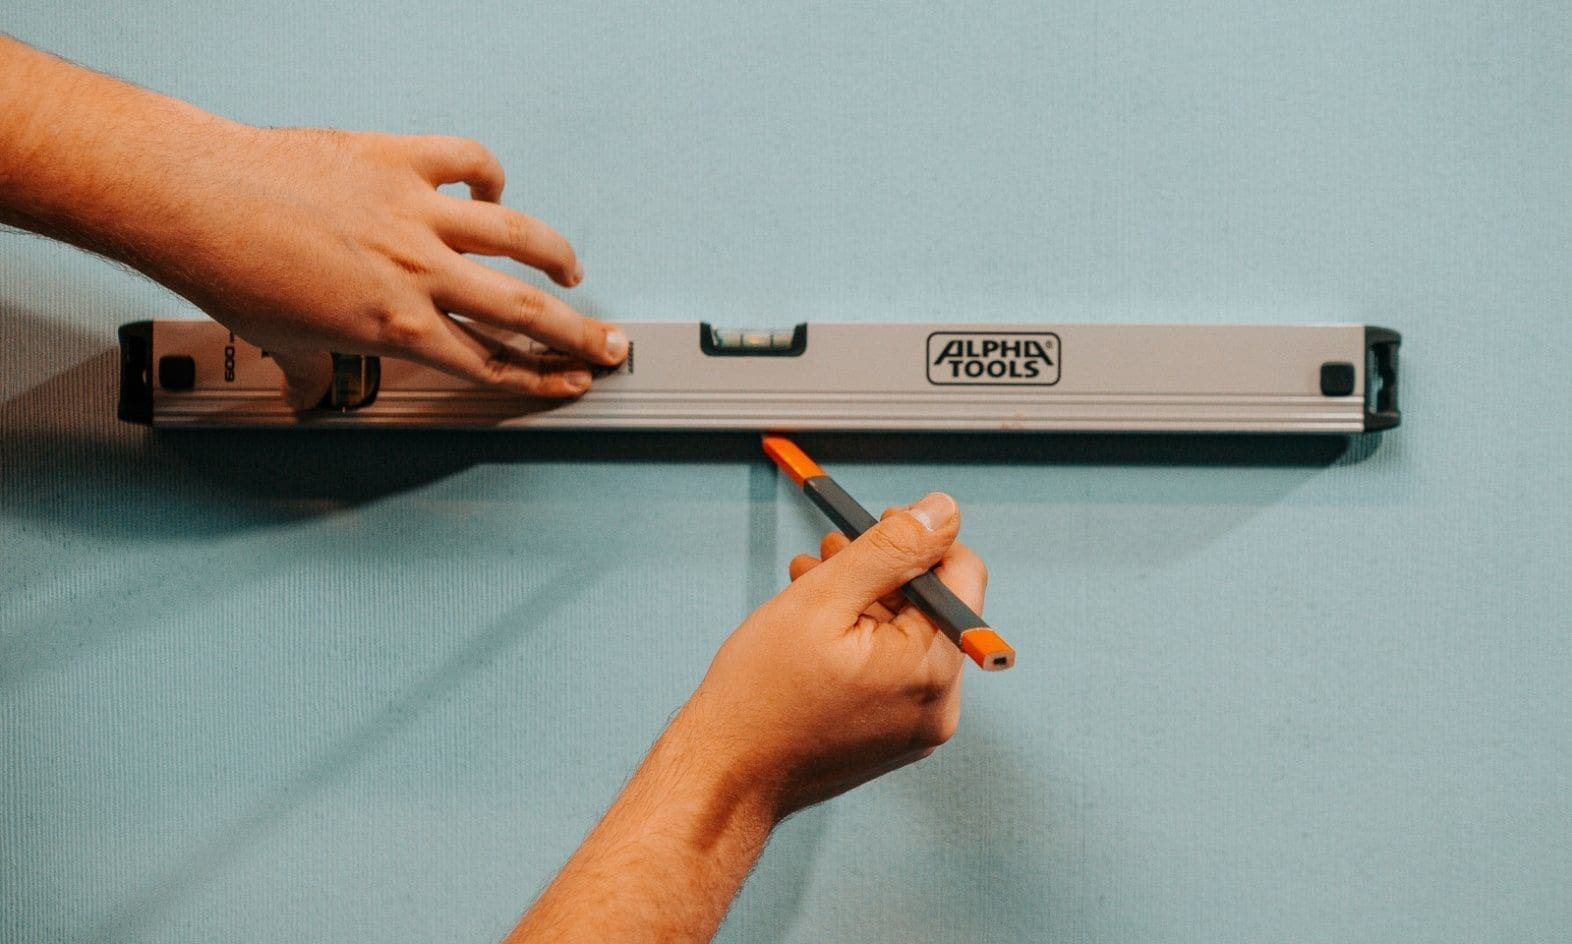
While determining the mounting positions, it helps to mark the walls and ceiling using a level and tape measure, in order to achieve even spacing in relation to corners and sound sources.
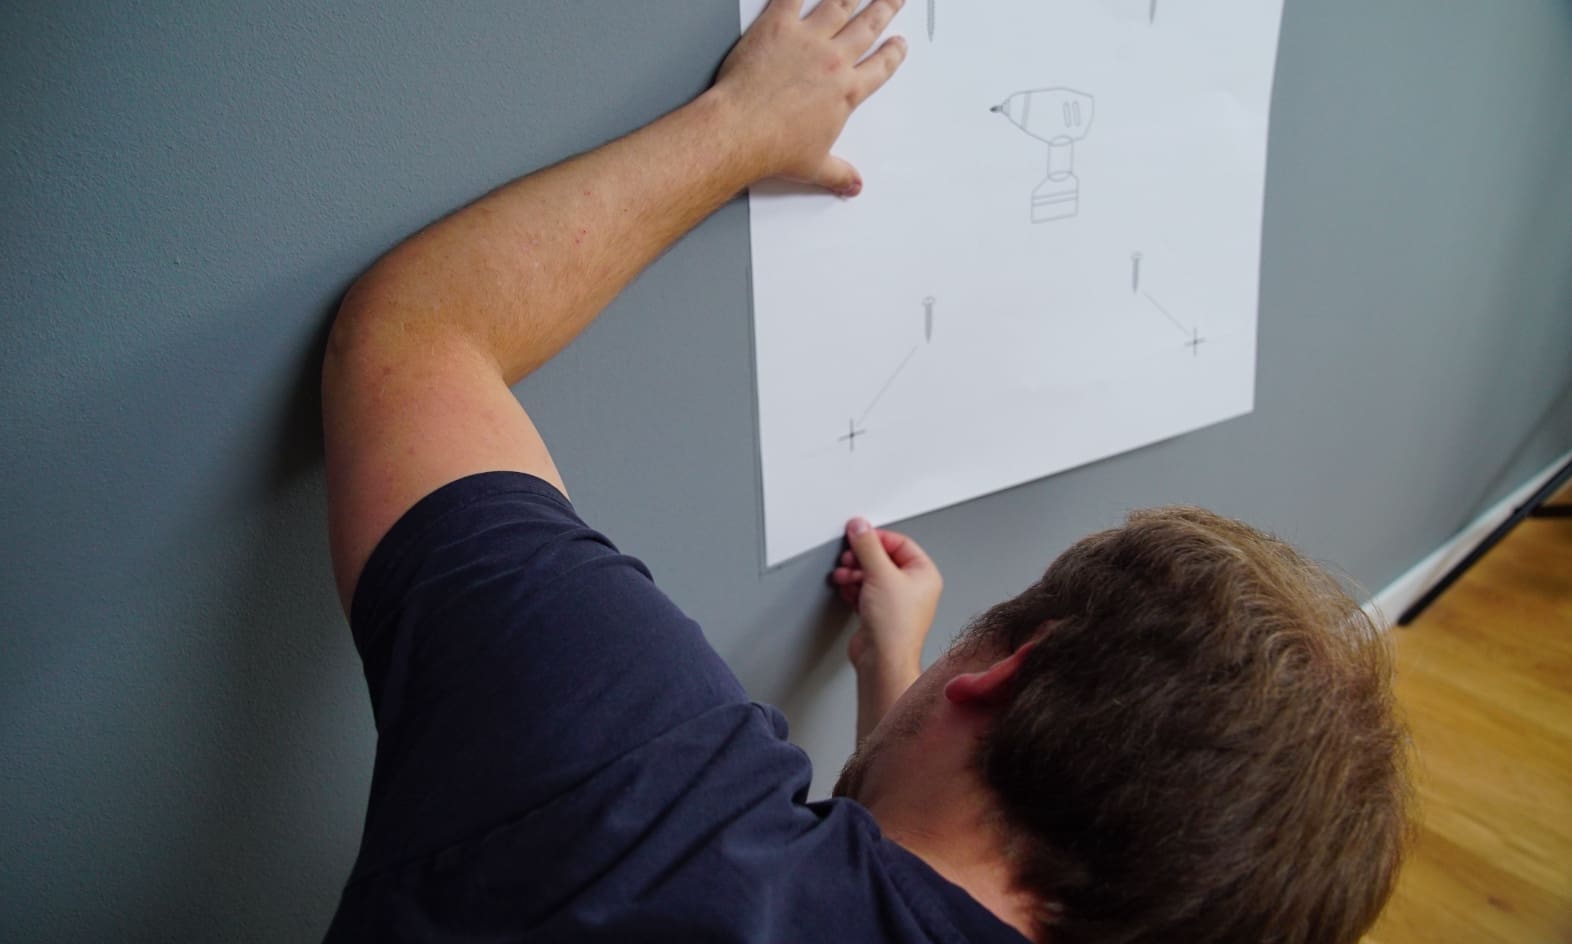
Align the drilling template on the wall. Use the template to mark the drilling locations using a pencil. Then drill the holes.
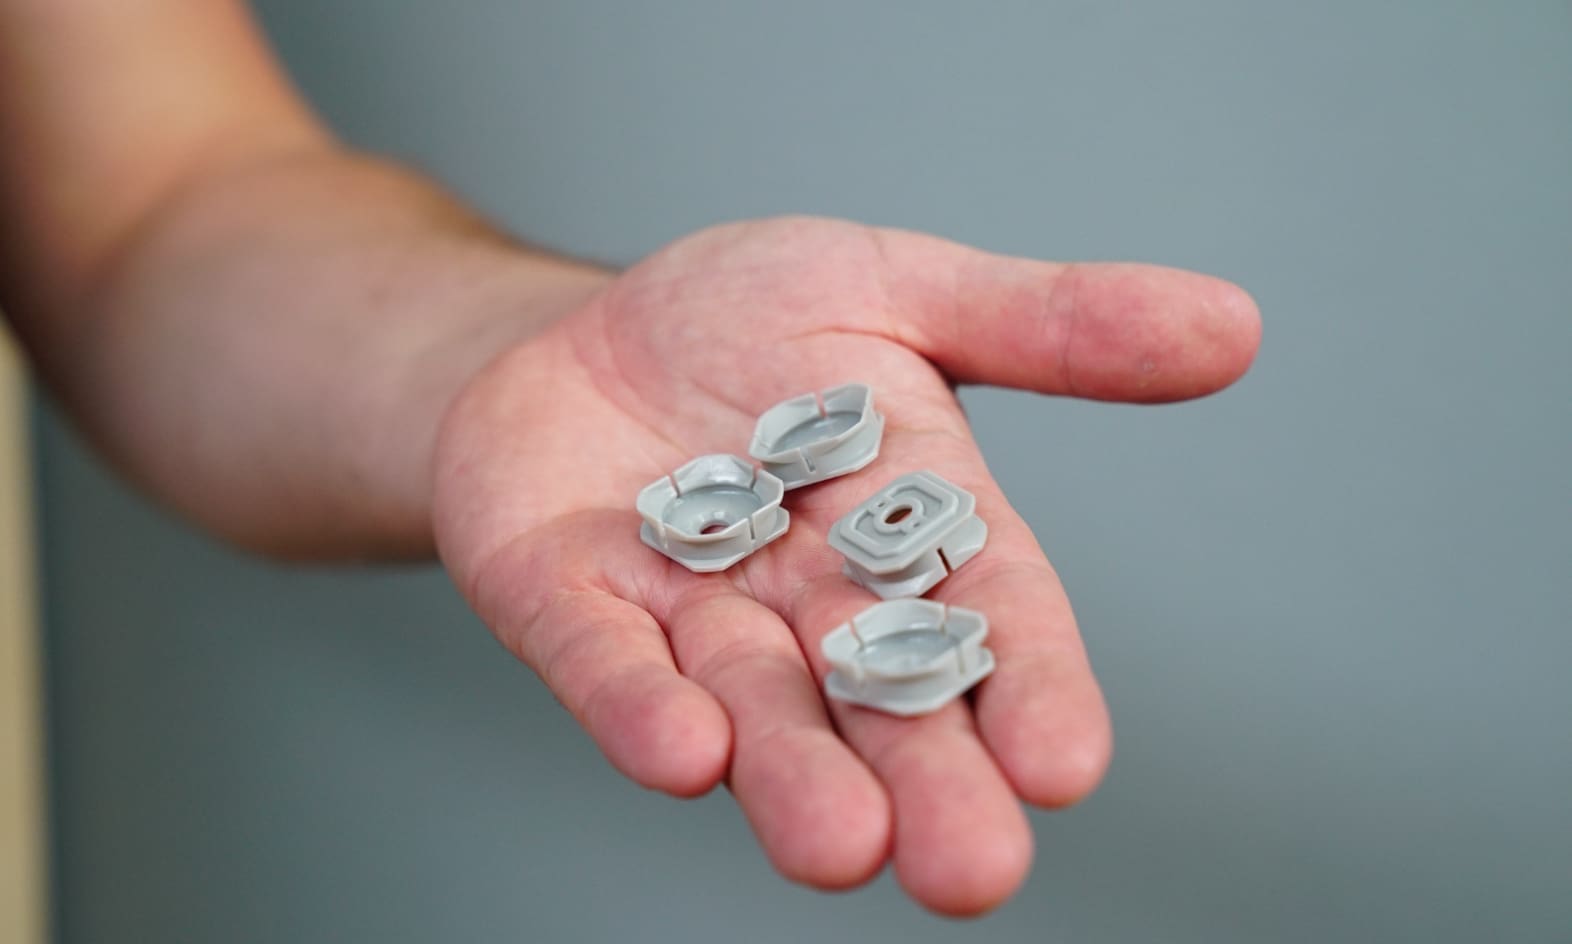
Insert anchors into the holes and use screws to firmly attach the four mounting clips for installing the diffuser.
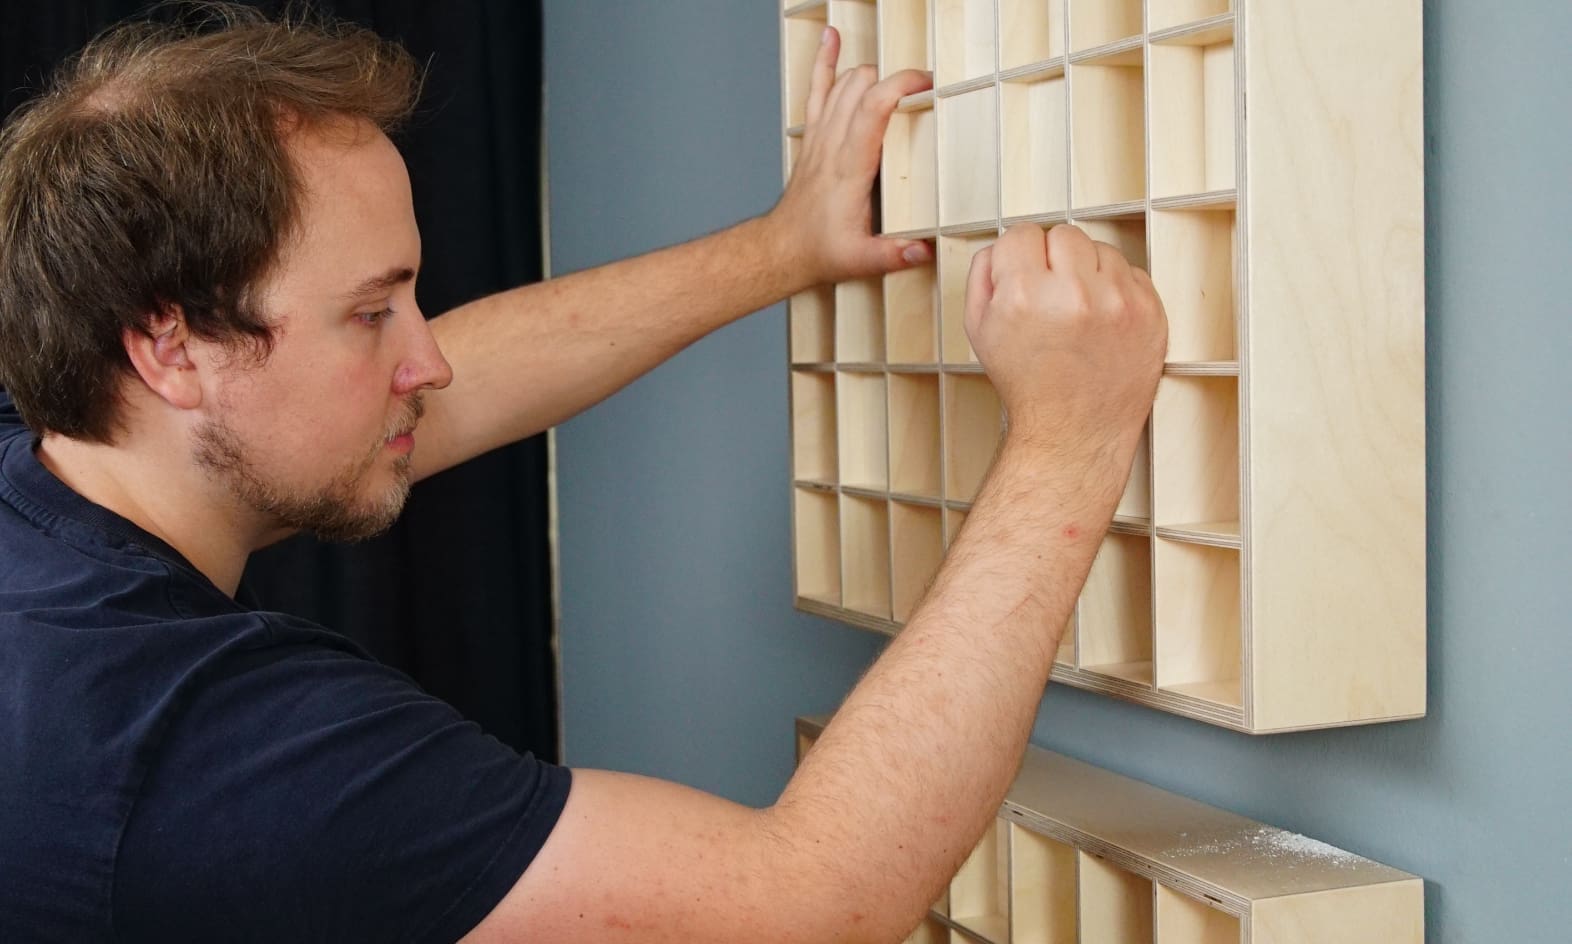
Now you can attach the diffuser to the mounting clips by pressing it evenly onto the four clips. Repeat this process for any additional diffusers. That’s it!