More Instructions
Outside our product categories absorbers, diffusers and bass traps, we have collected instructions with photos and videos to help you assemble other items. The detailed installation instructions for our additional solutions help to set up Drum Shields, Mobile Walls or Drum Shields quickly and easily.
Tip:
All instructions for our products are available as pdf-download!
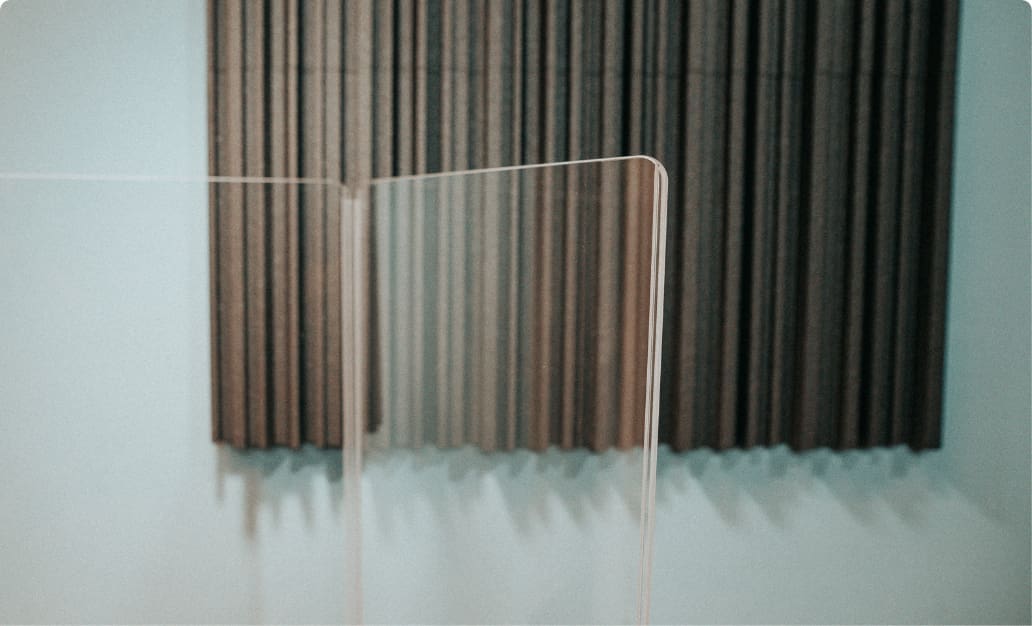
Installation
All materials required for installation are included in the scope of delivery. No additional equipment needs to be procured during installation. All products are uncomplicated and easy to install. In addition, the scope of delivery includes instructions to facilitate the assembly and installation of the products.
Assembly videos
Instructions
The "Mobile Wall" instructions are suitable for the following products:
All t.akustik Mobile Walls
The "Drum Shields" Instructions are suitable for the following products:
All t.akustik Drum Shields
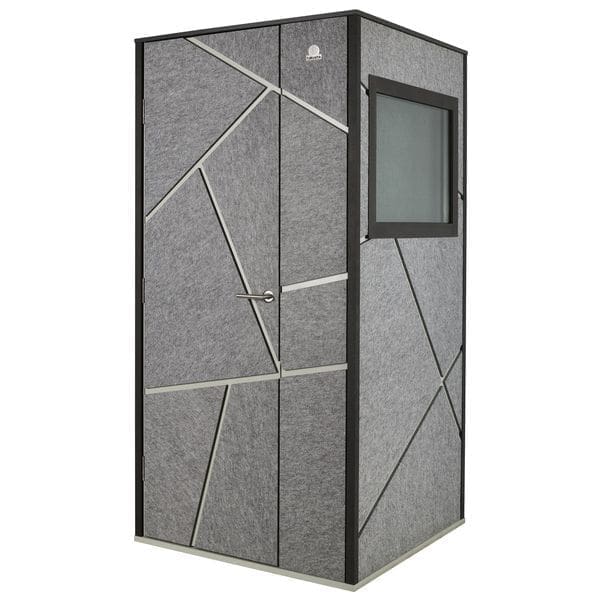
Two people are needed for assembling the Vocal Booth. If you are less than 180 cm tall, we recommend having a ladder on hand for installation.
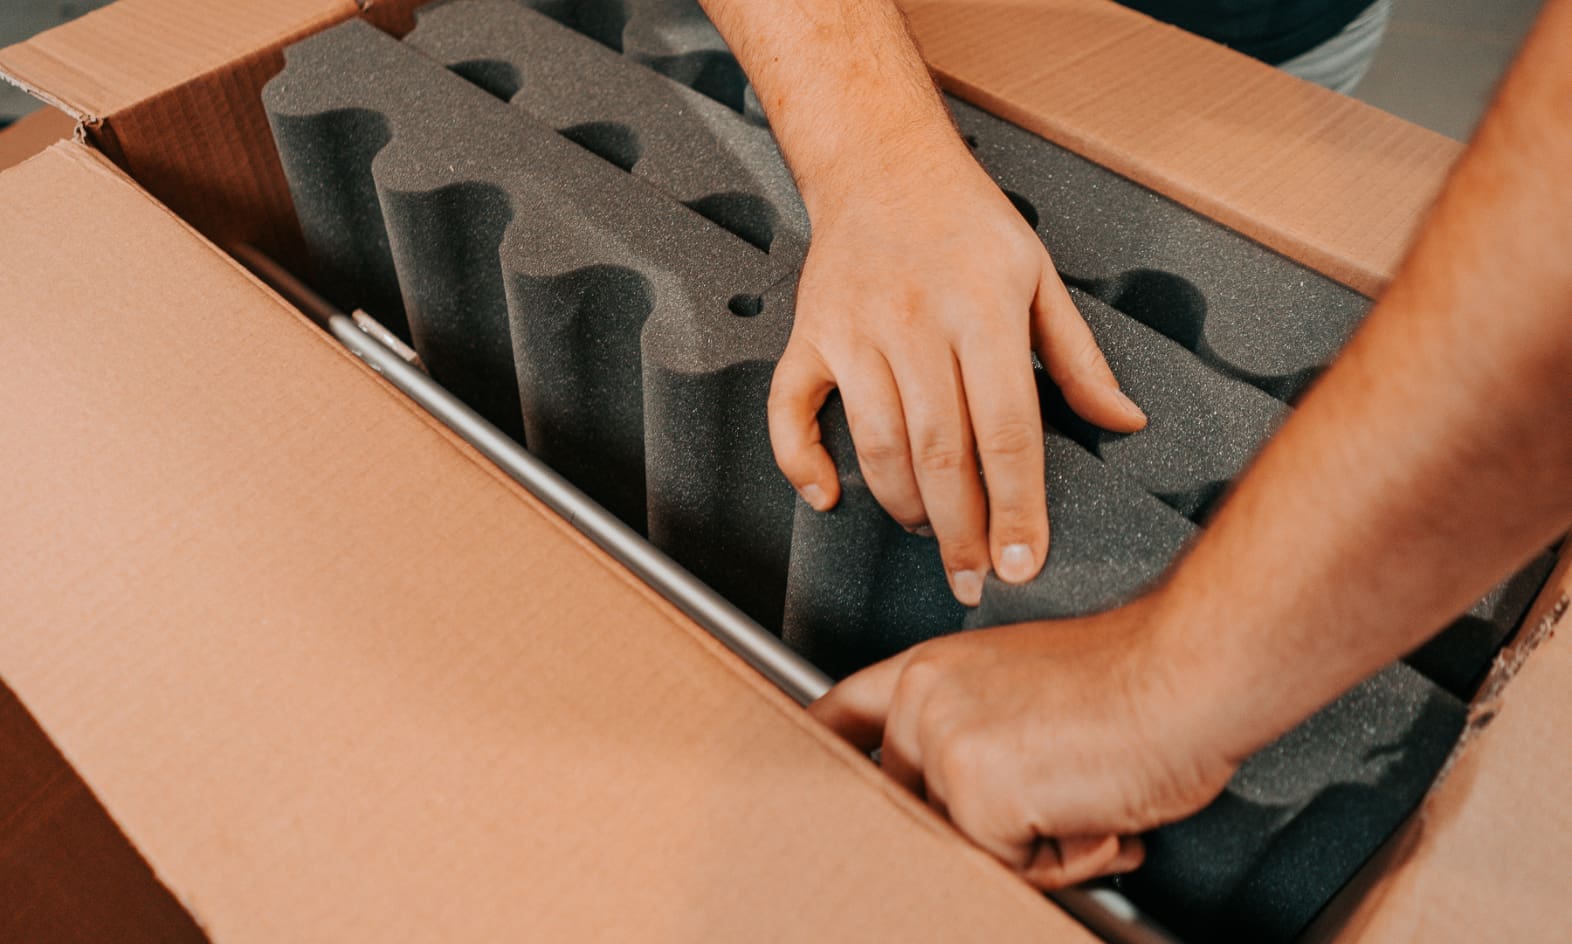
Unboxing
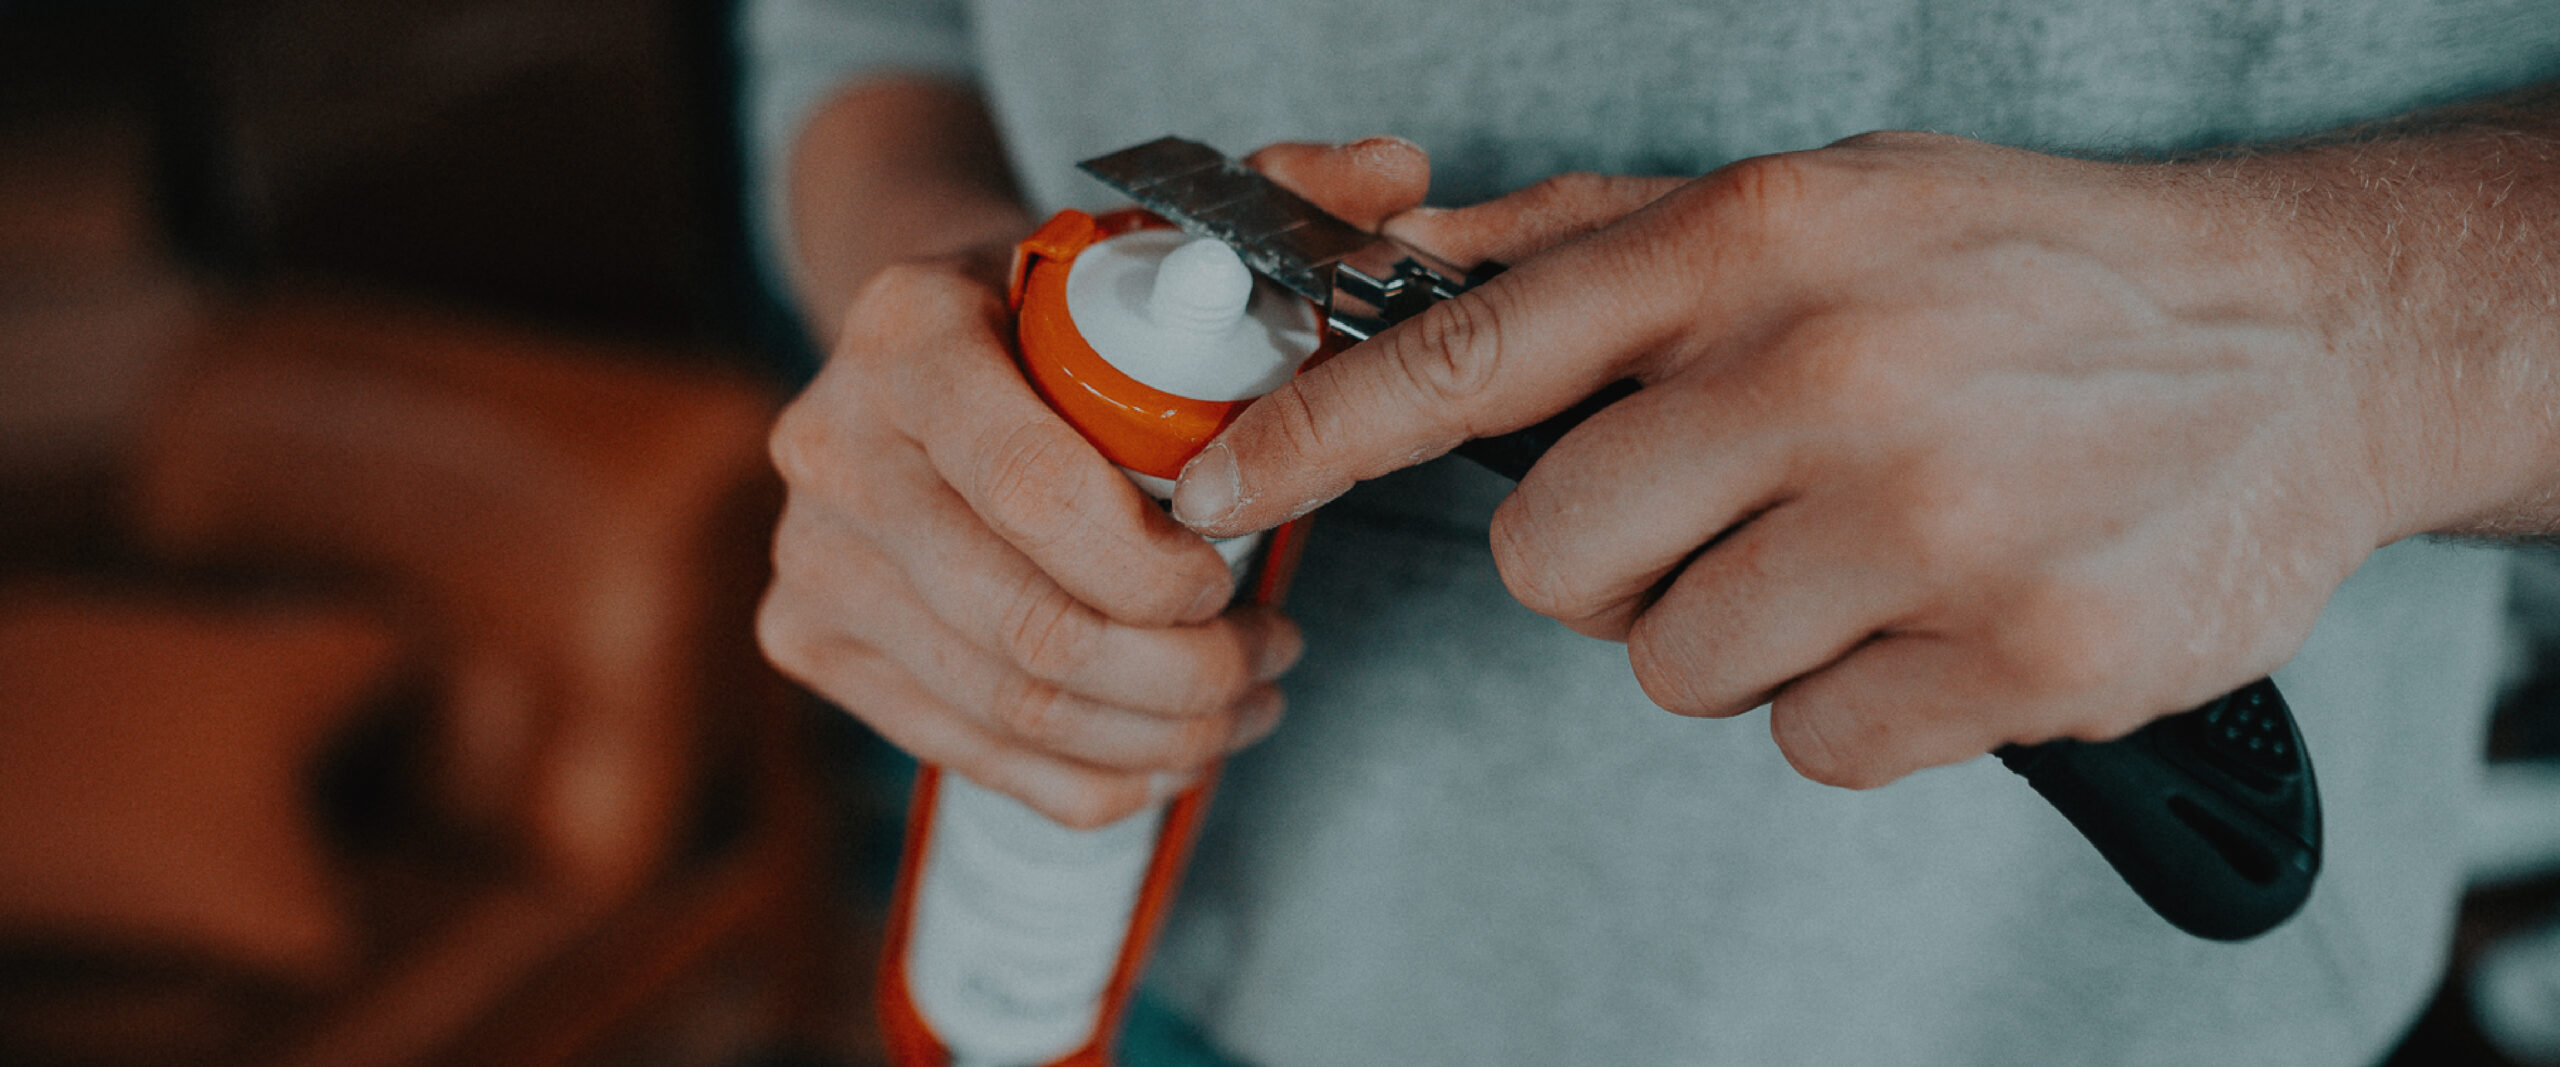
Open the package carefully! Inserting sharp objects into the package can damage the mobile wall. Avoid using long, sharp tools for opening the package!
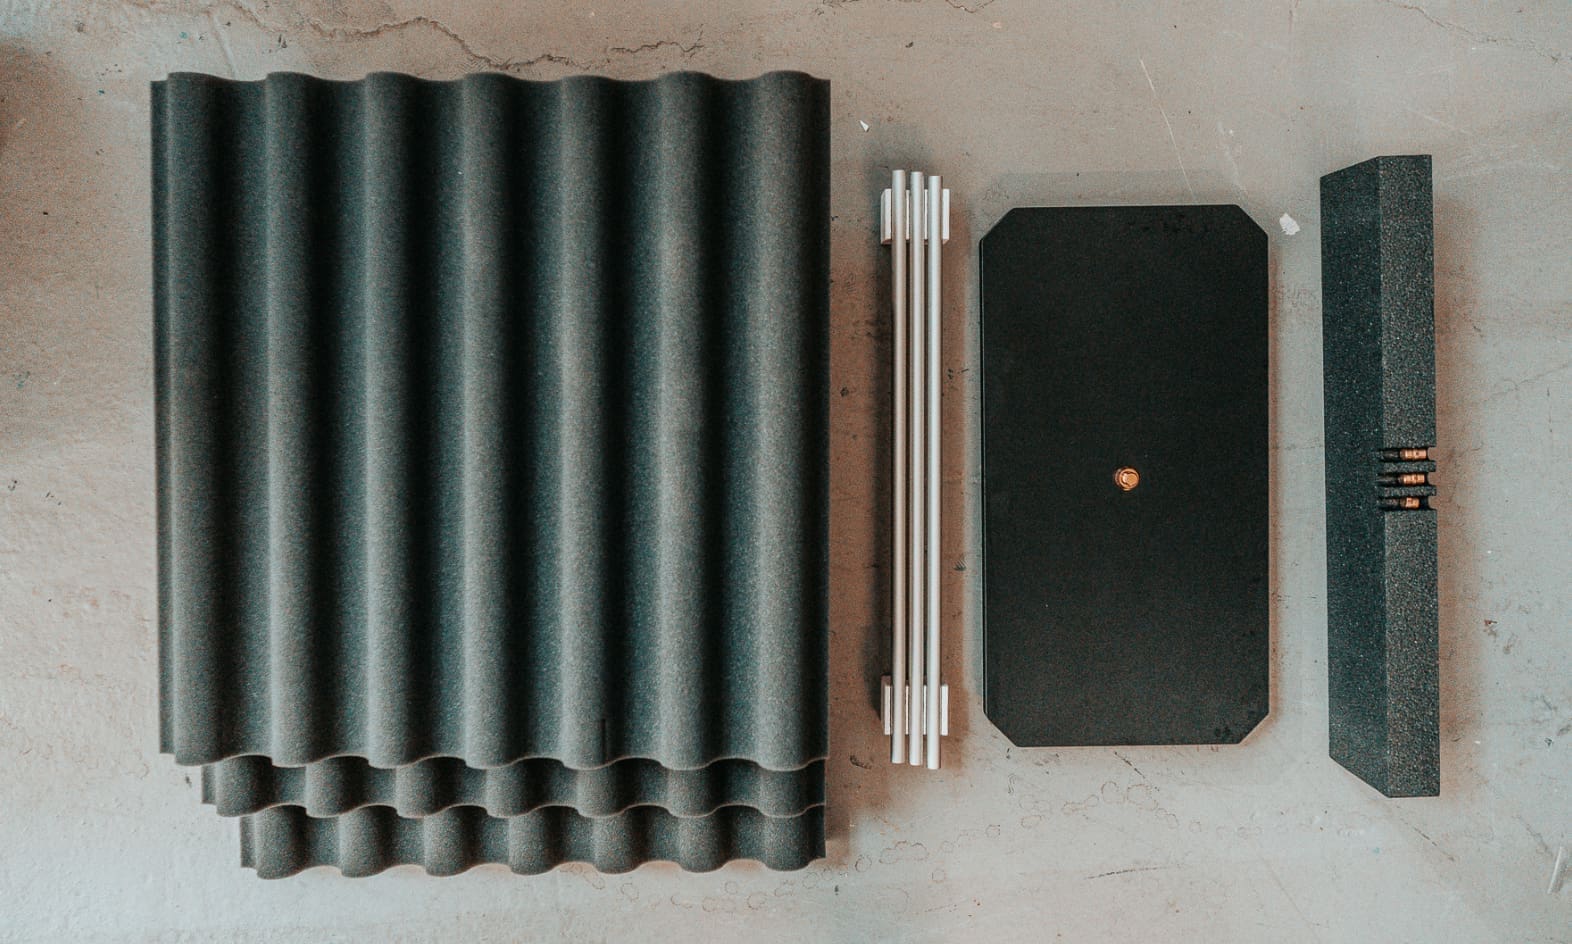
Remove products from packaging
Carefully remove the products from the package. Place the foam elements (3), base plate (1), pole sections (3) and threaded couplings (3) next to each other on the floor.
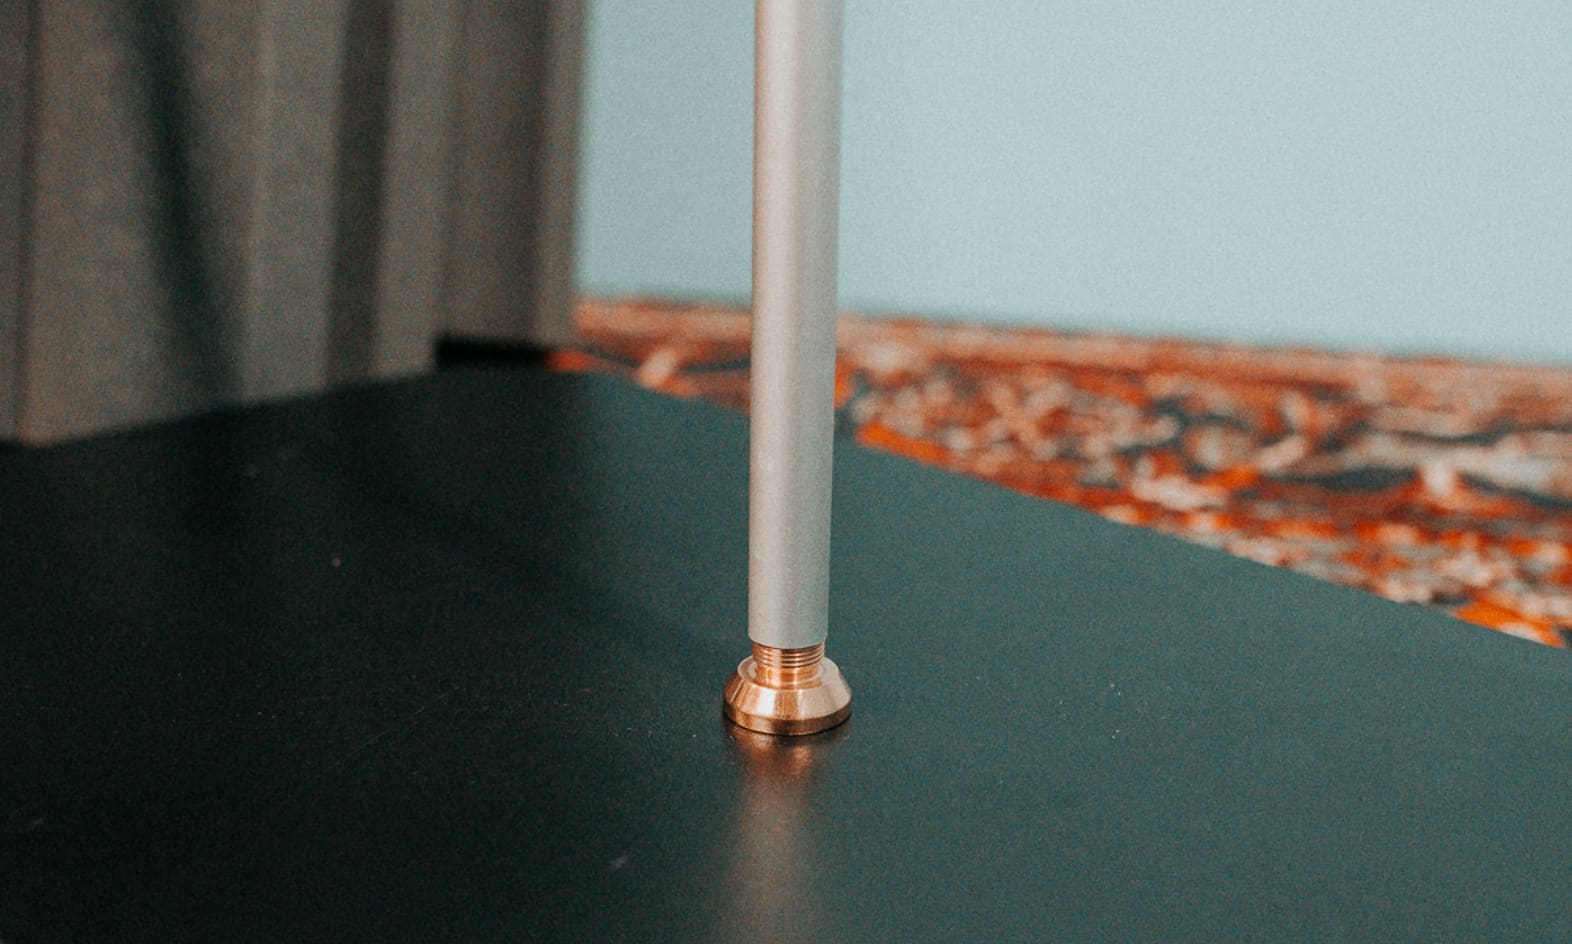
Assemble the base and pole
Connect the pole elements using the threaded couplings and attach them to the base plate.
Mount the absorbers
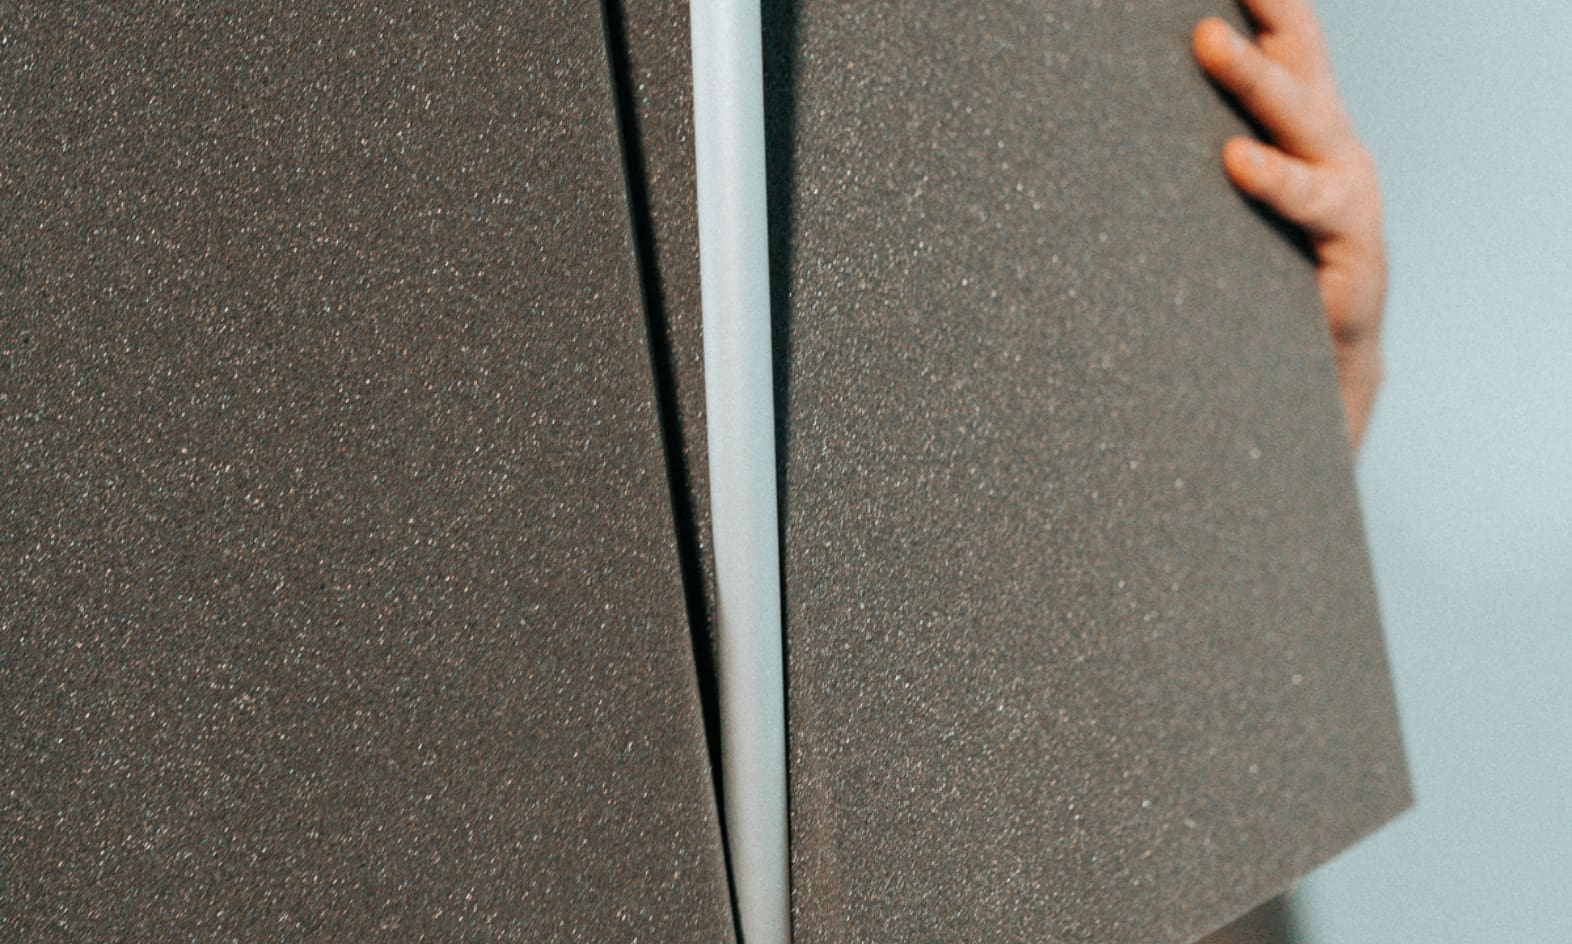
The absorber elements (1,2,3) have an opening in the back for sliding the elements onto the pole. Add the elements to the stand one at a time. That’s it!
Depending on the application, you can modify the height of the mobile wall by using the desired number of elements.
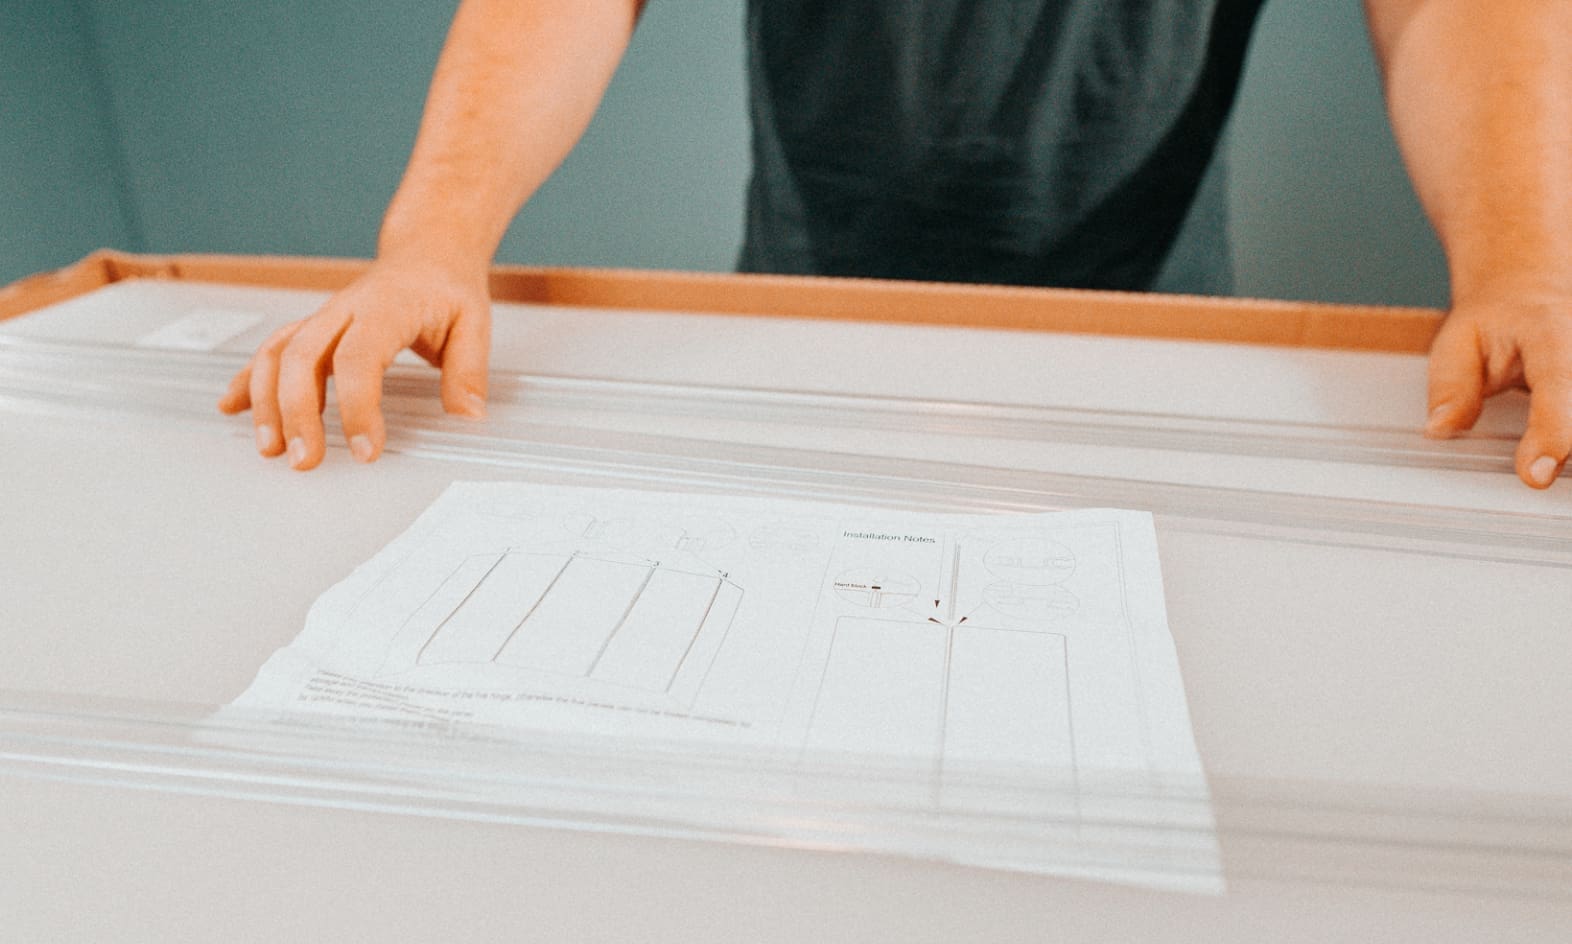
Unboxing
Open the package carefully! Inserting sharp objects into the package can damage the drum shields. Avoid using long, sharp tools for opening the package!
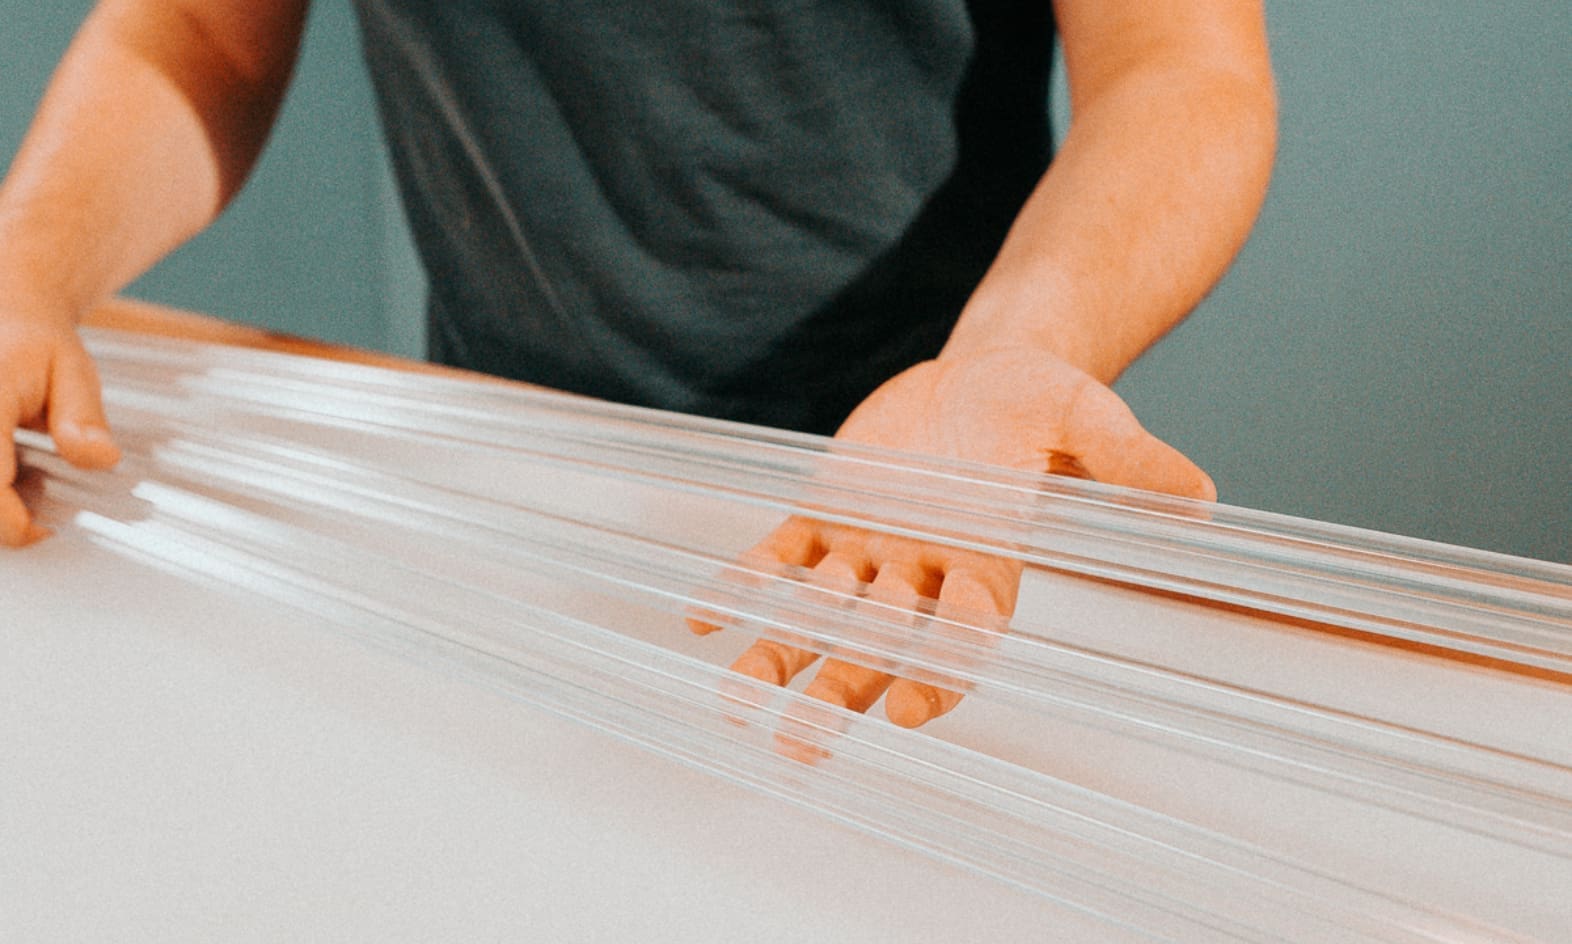
Remove products from packaging
Carefully remove the products from the package. The acrylic panels are covered with a protective film. Remove the protective film and take the connecting brackets out of the package.
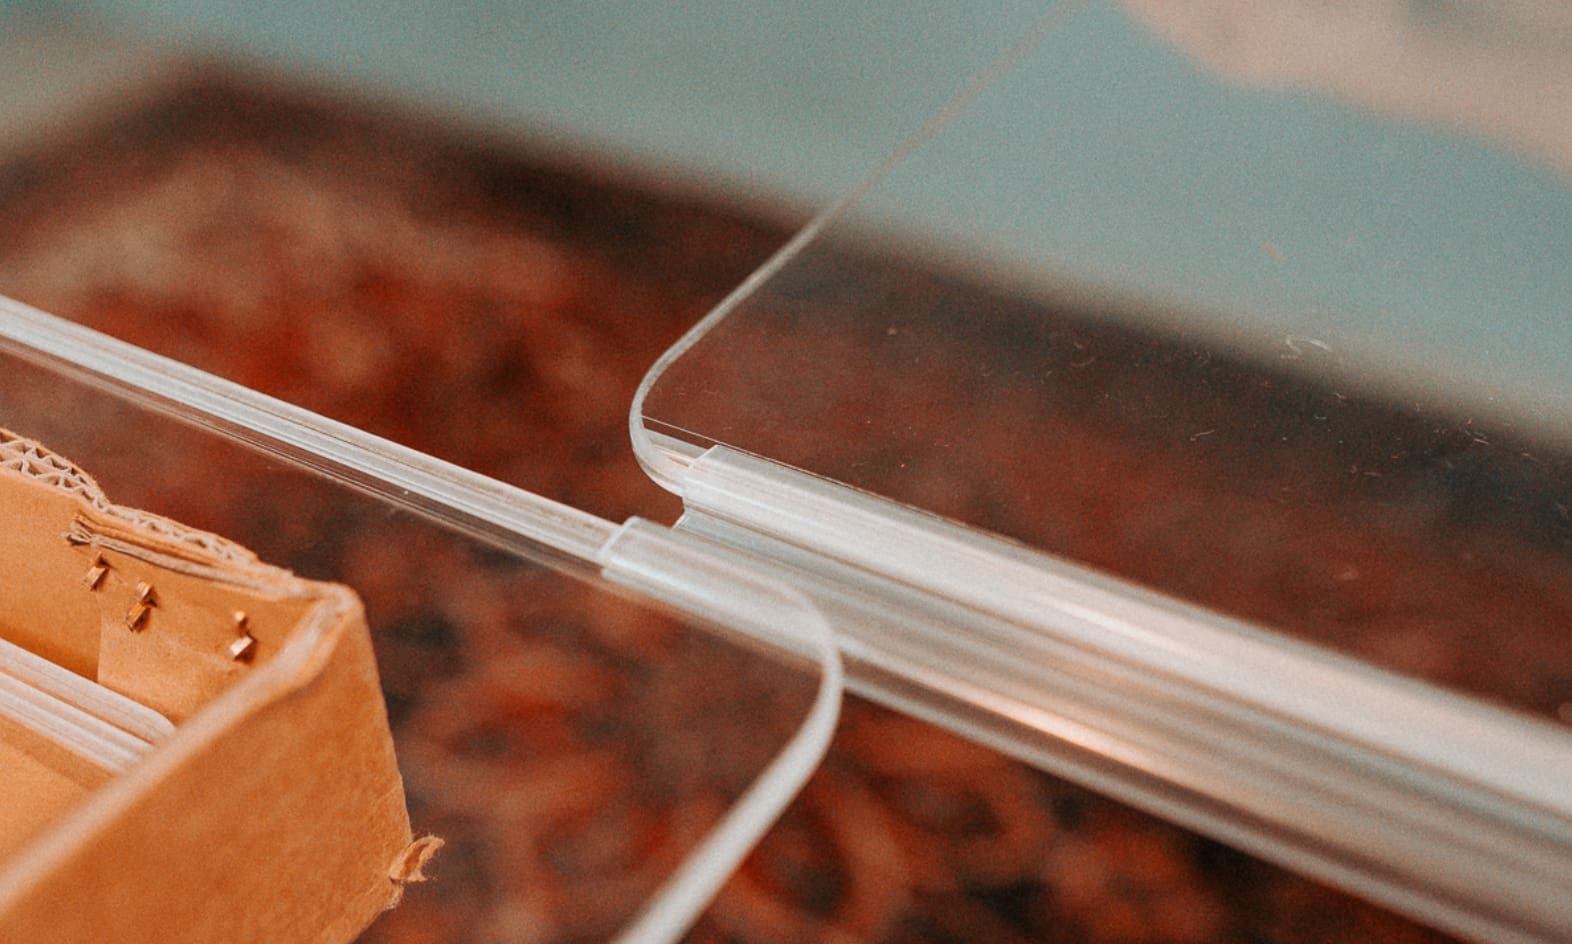
Connect the panels
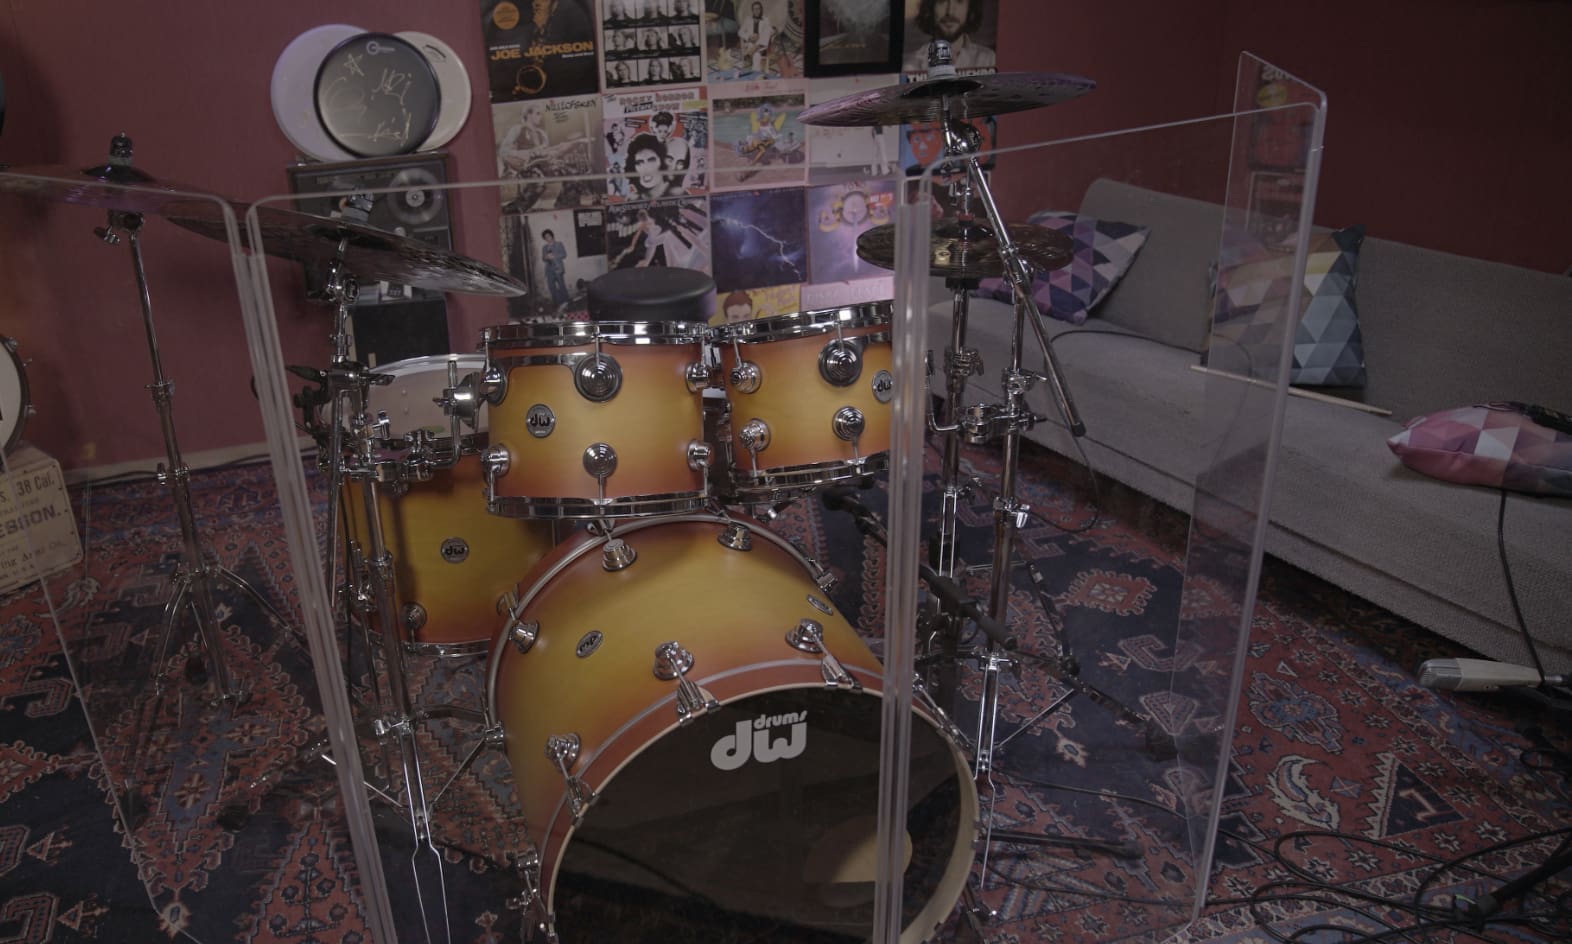
Remove the connecting brackets from the package. Attach one bracket to the edge of panel 1. Connect panel 1 to panel 2 by sliding the second panel into the bracket.
Assembly
Assemble the drum shield in a semicircle around the drum set. That’s it!
Unboxing
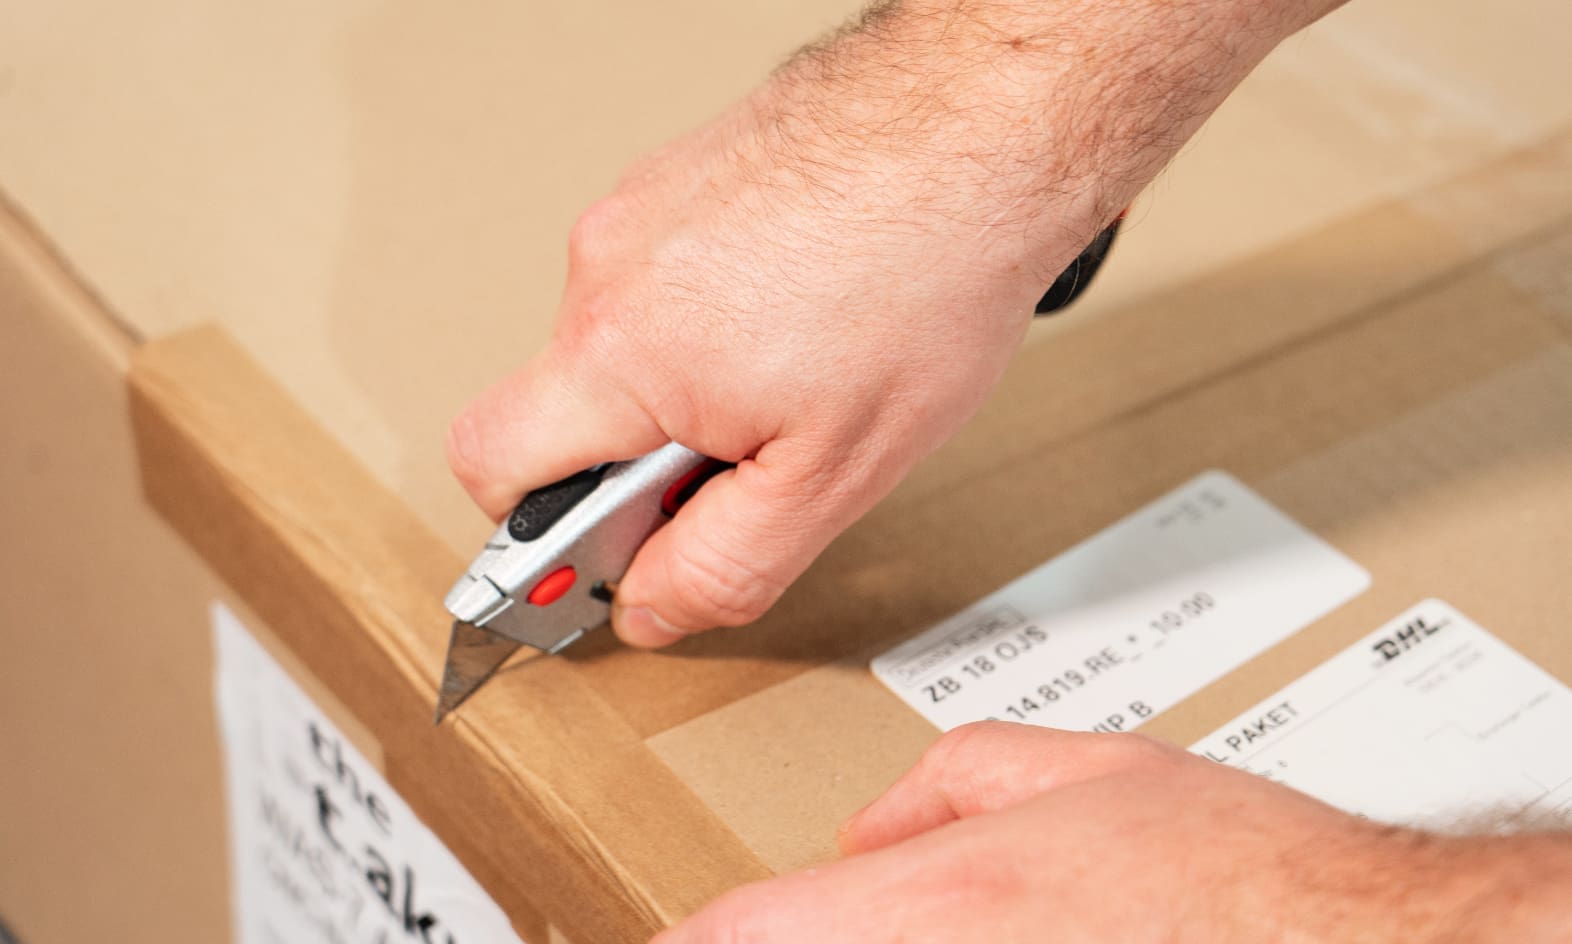
Open the 3 packages carefully! Inserting sharp objects into the packages can damage the Vocal Booth. Avoid using long, sharp tools for opening the packages!
Remove products from packaging
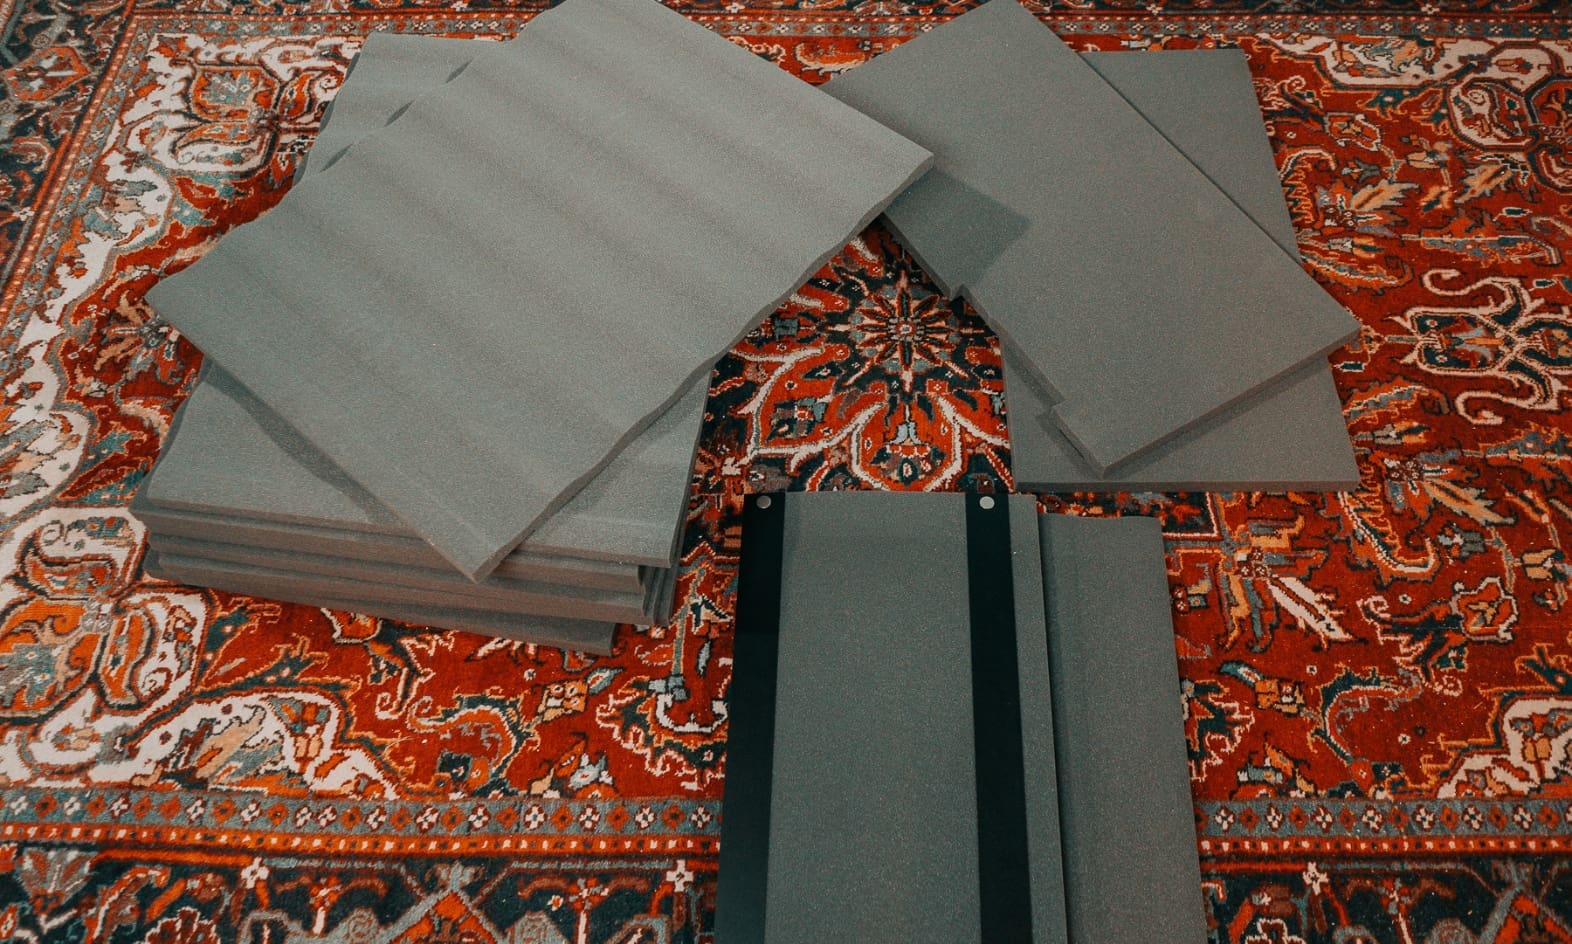
Carefully remove the products from the packages. Packages 1 and 2 contain the various elements and connectors for the frame, as well as the wing bolts. Package 3 contains the outer walls, curtain, acrylic panel and LED light. Sort all elements in groups as described in the instructions prior to beginning the installation.
Frame assembly: Step 1
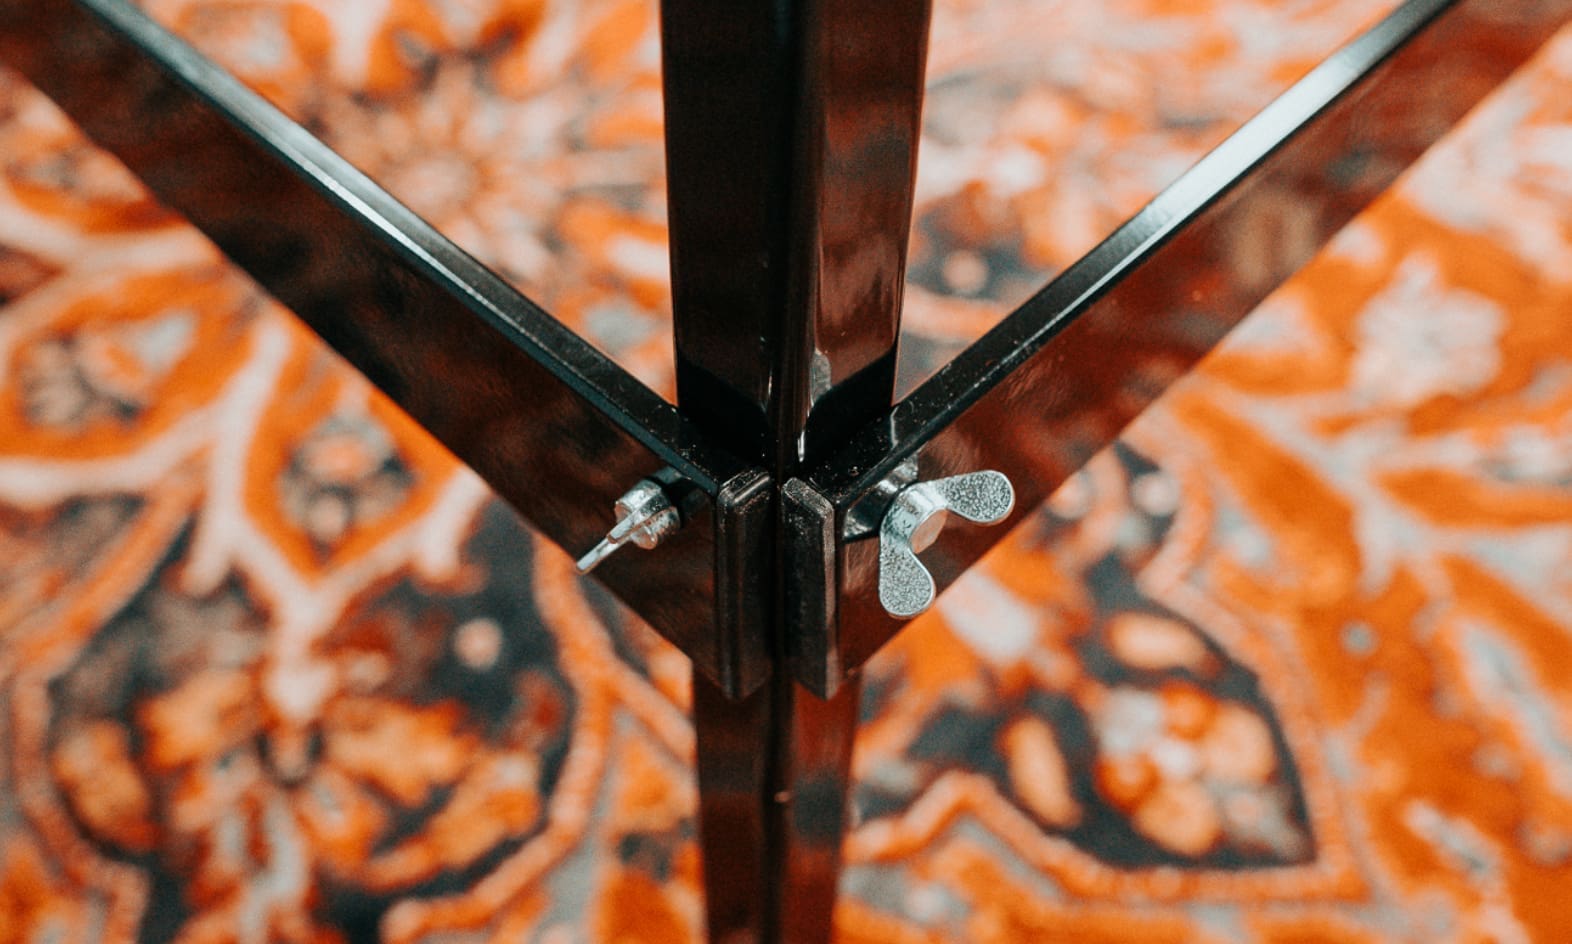
Follow the instructions and begin by assembling the base and the first (bottom) section of the Vocal Booth by connecting the frame elements using wing bolts, as described in the instructions.
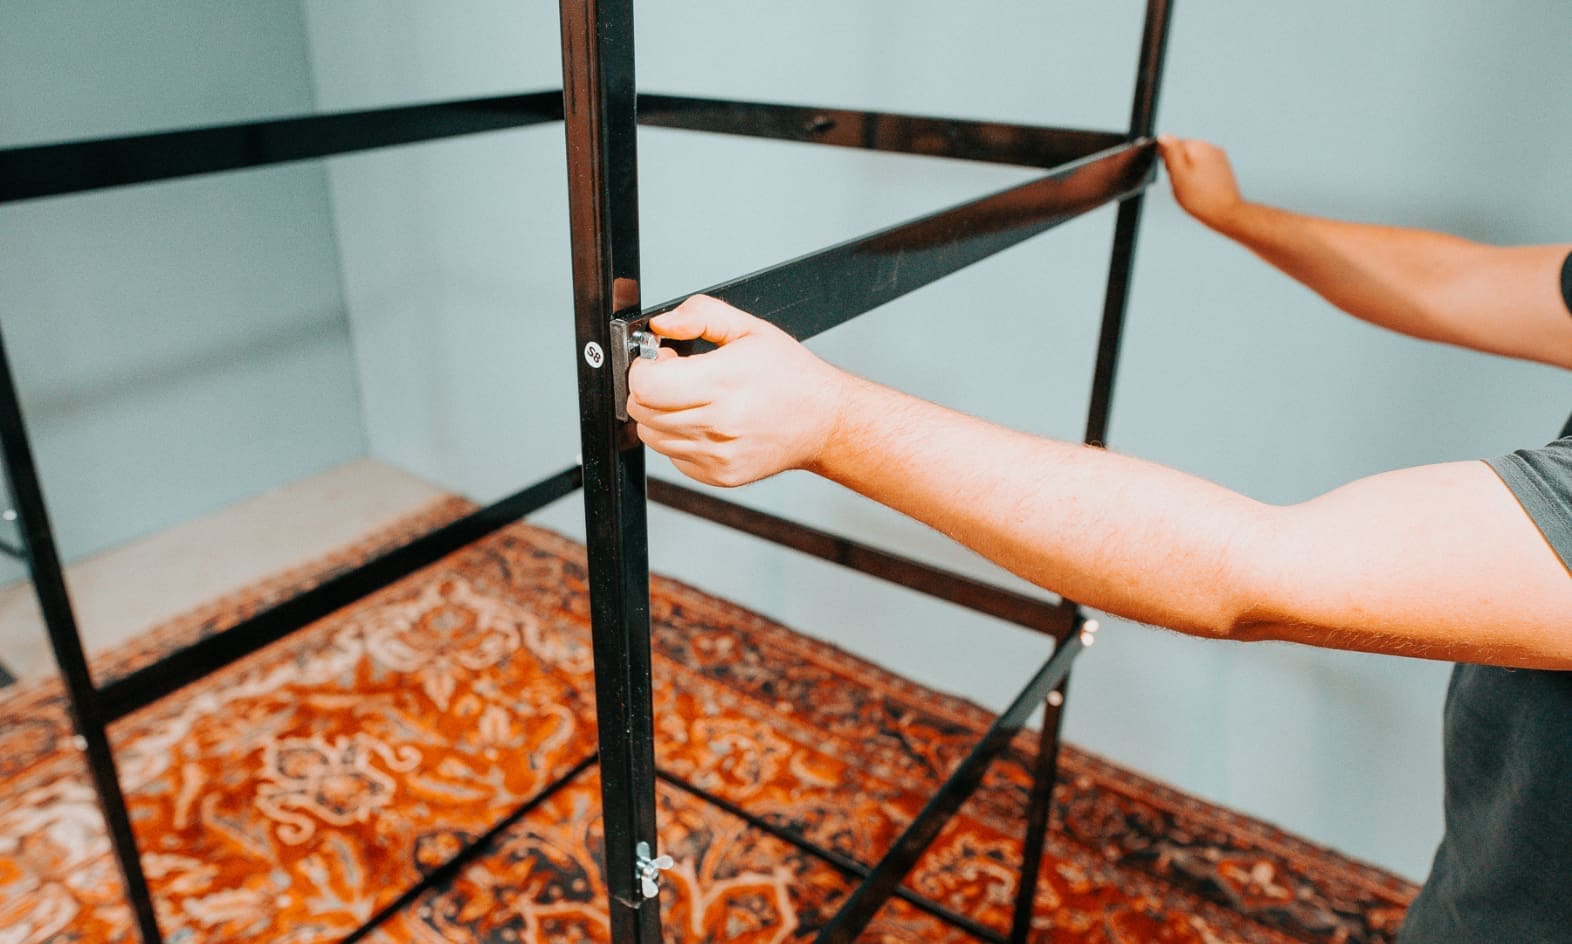
Frame assembly: Step 2
Continue to follow the instructions and assemble the second section of the Vocal Booth by connecting the frame elements using wing bolts, as described in the instructions.
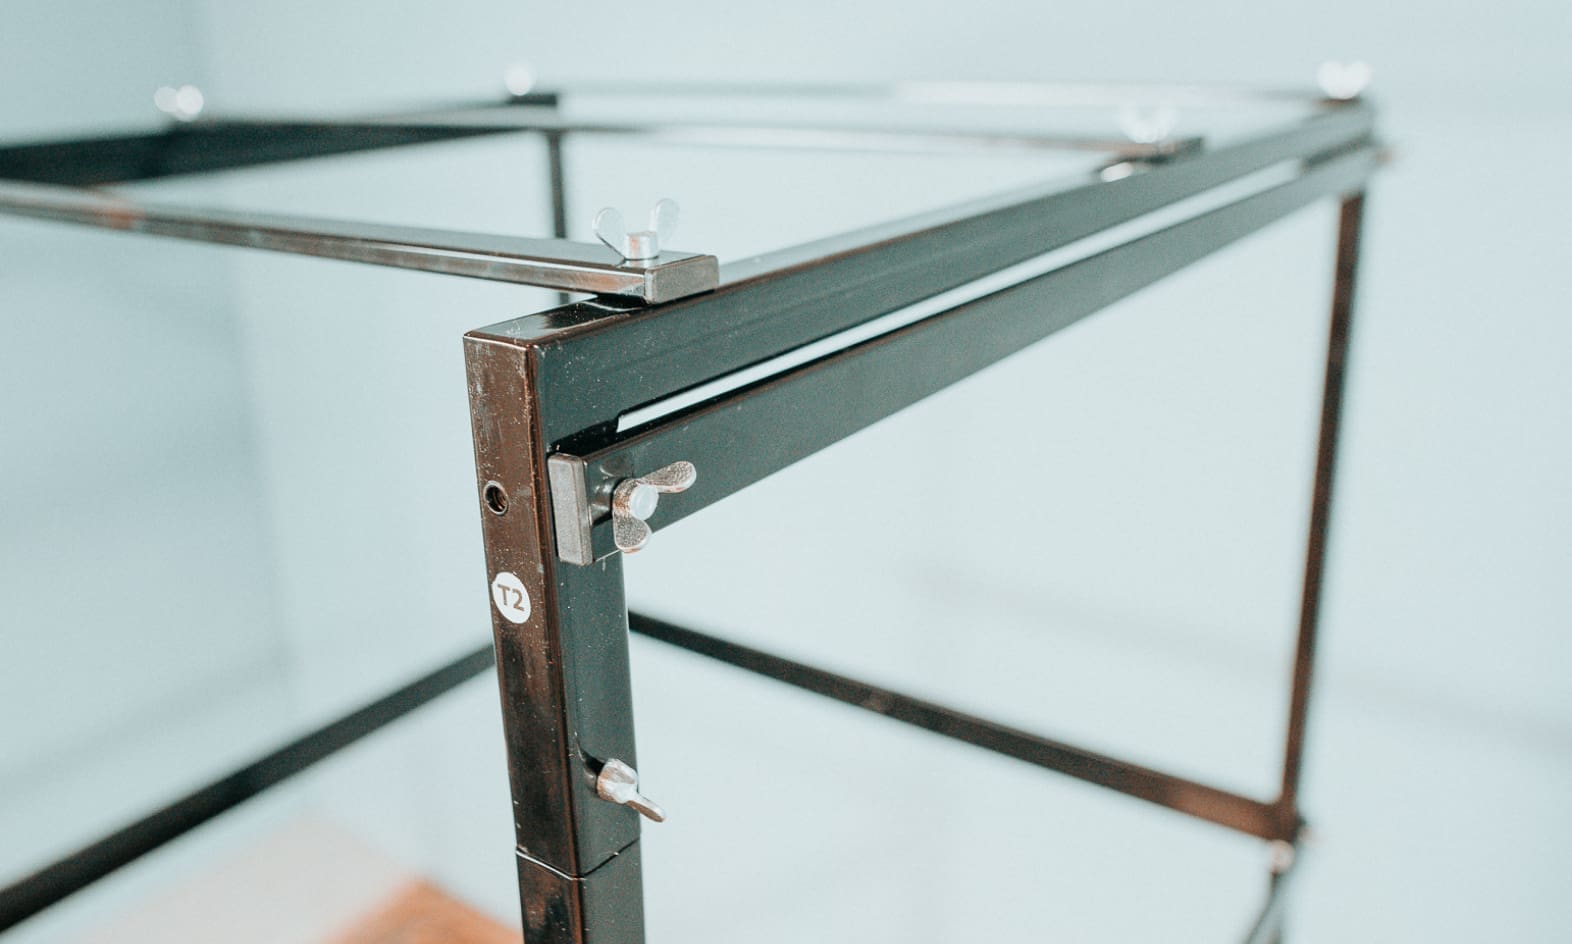
Frame assembly: Step 3
Continue to follow the instructions and assemble the third section of the Vocal Booth by connecting the frame elements using wing bolts, as described in the instructions.
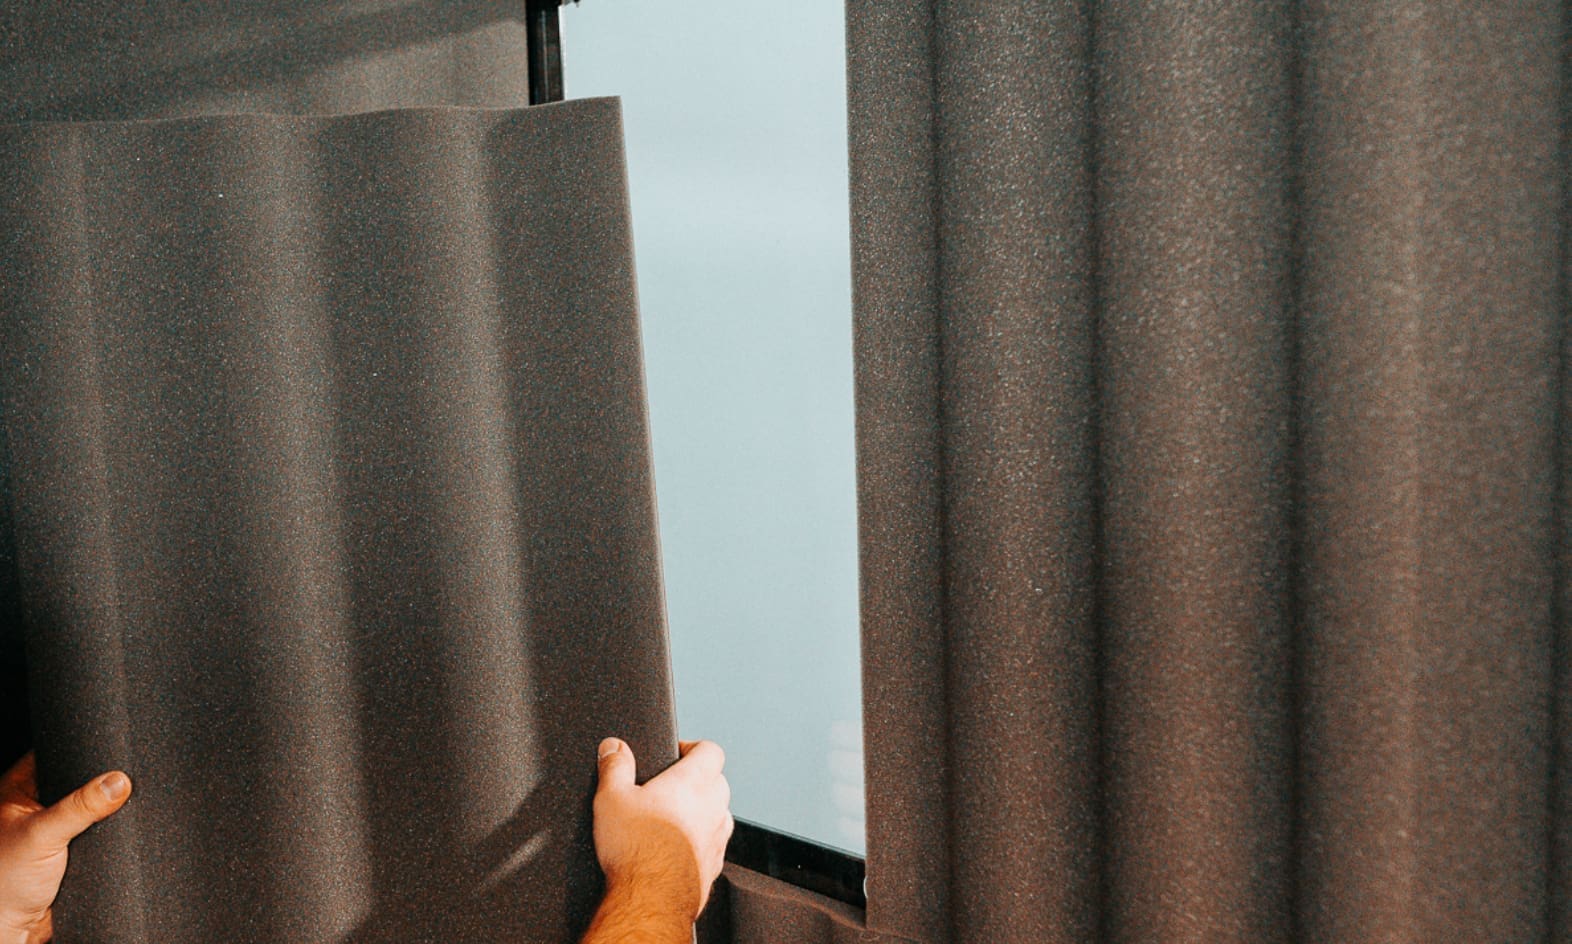
Install the foam elements and acrylic panel
Attach the foam elements to the frame by pressing the magnets onto the horizontal beams. Remove the protective film from the acrylic panel and attach it to the panel using the magnets, as described in the instructions.
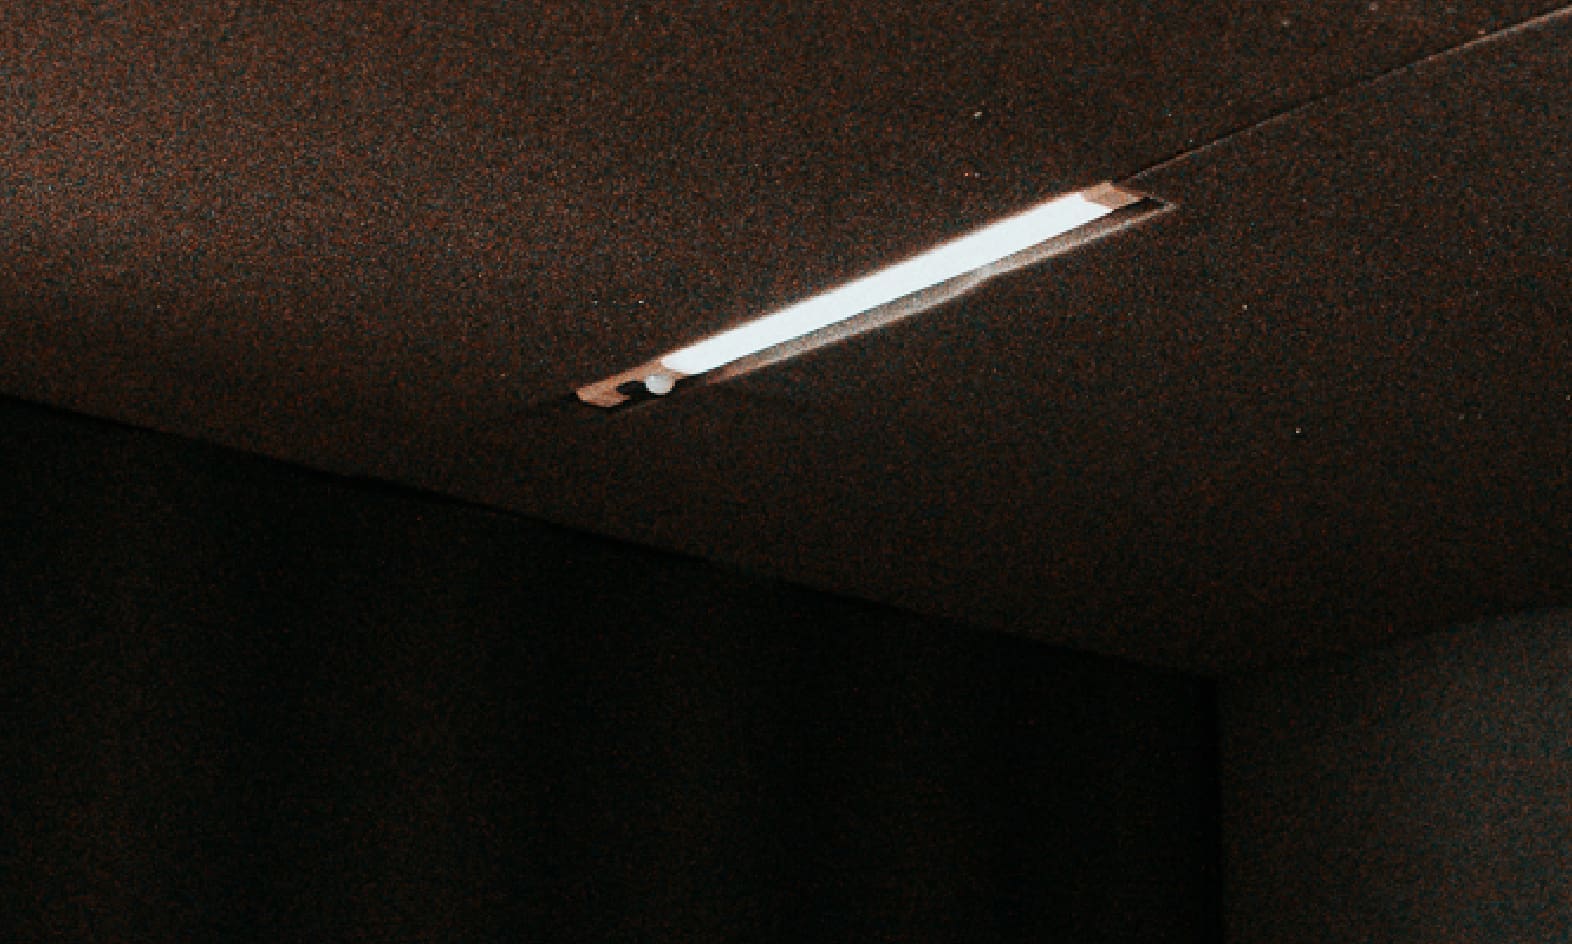
Install the LED light
Remove the LED light from the package, insert batteries and attach it to the center horizontal beam of the Vocal Booth using the magnets.
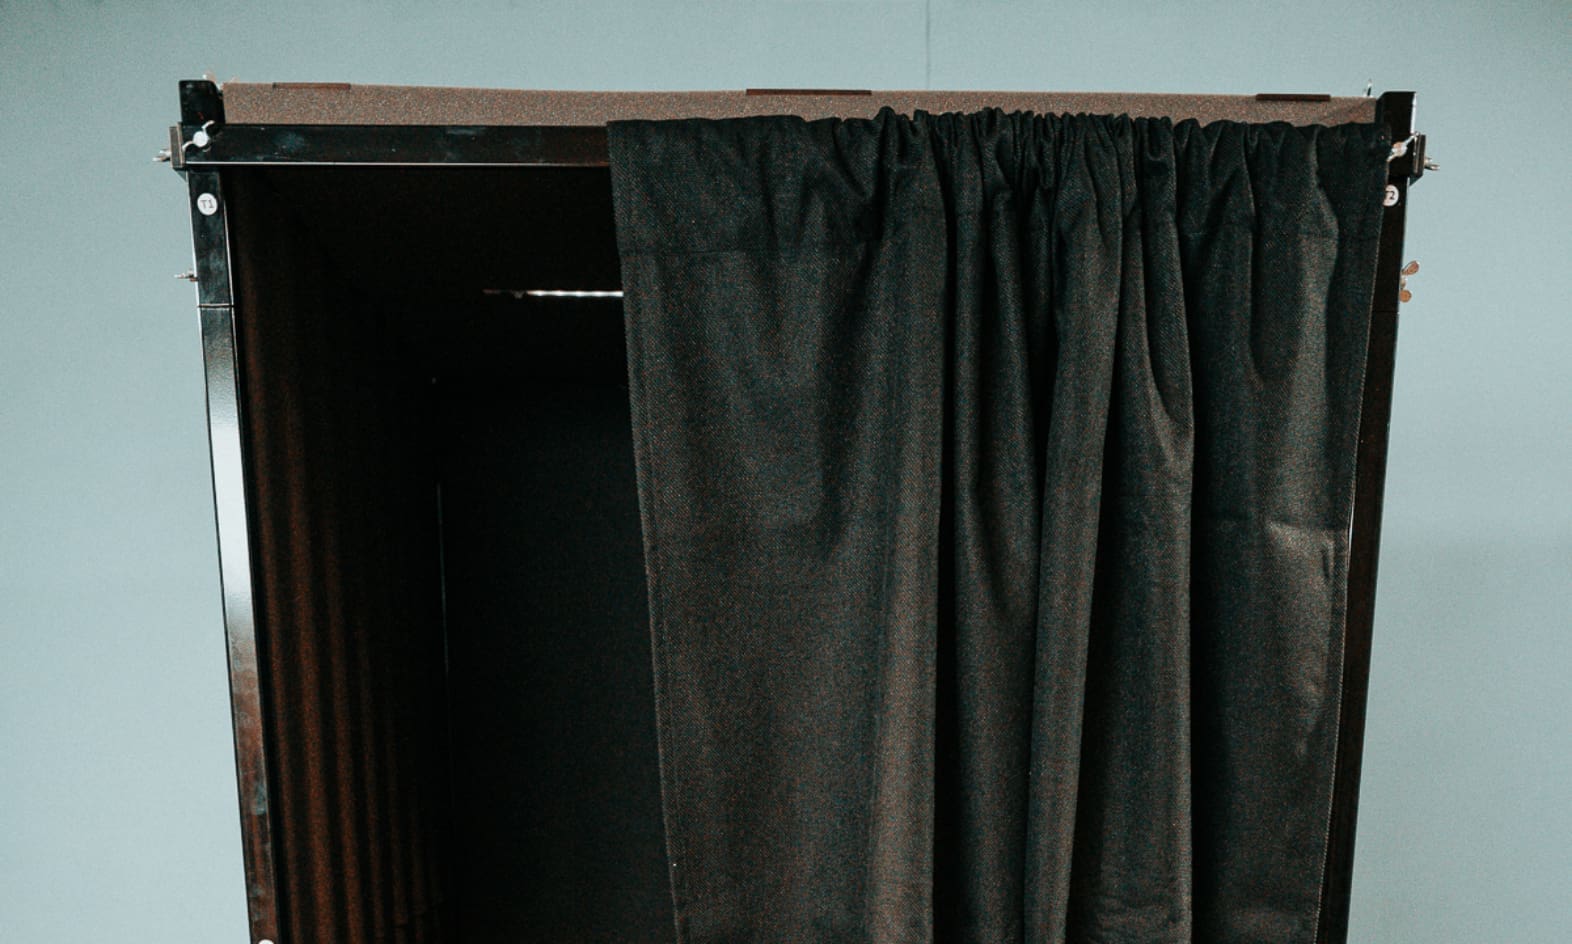
Install the curtain
Install the curtain by removing it from the package and pulling it onto element P2, before attaching the front horizontal beam (P2) using wing bolts. That’s it!
More Videos
Topseller
Also Interesting
No products available.